Saturday, April 25, 2009

Baby wipes technique

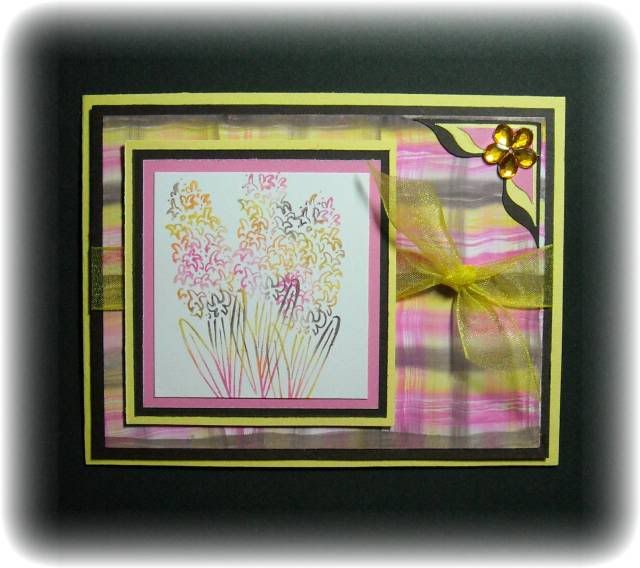
I was watching a video on Stamp TV and saw one on using babywipes and reinkers. I thought this was the coolest idea and decided to give it a try. My card didn't come out nearly as pretty as Gina K's but it's not too bad. Here is a link to the 2 videos that show how to do this:

Baby Wipes As An Inkpad
Baby Wipes Background

Watch these 2 videos and give this a try. I'd love to see how your cards turn out!
Photobucket

I used Stampin Up reinkers in yoyo yellow, chocolate chip, and pink passion. Since I have trouble drawing a straight line I decided to make the lines wavy. It did take a few minutes for the ink to dry on the glossy paper (Stampin Up) but only about 5 minutes. While I waited I cut out the card and mats. I used my Cricut Jasmine cartridge to cut out the corners. I used real dial size and cut the brown at 2 1/2", the yellow at 2", and the pink at 1 1/2".

I'm thinking of adding a touch of yellow stickles on the flowers. Or maybe just some glitter? What do you think? Anyway it's a pretty cool technique. I didn't even get very messy! Imagine that!
Wednesday, April 22, 2009

Color Challenge Tuesday Entry

Over on the "From C to Shining C" forum there is a color challenge every tuesday. If you haven't checked it out take a look. It's a great new forum!

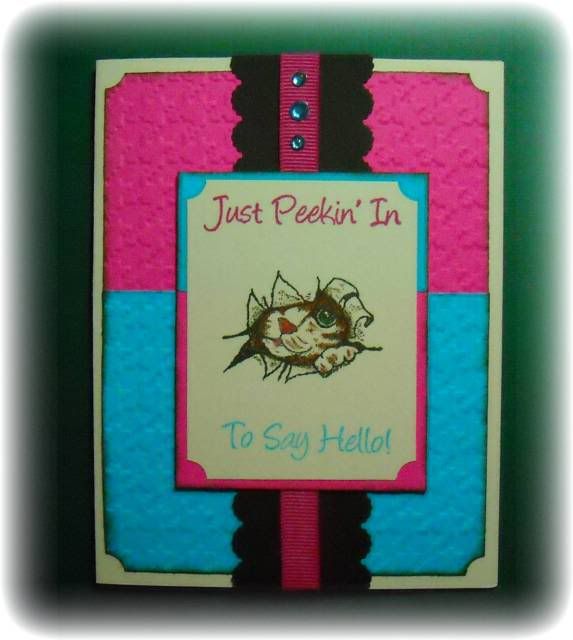
I didn't have the Stampin' Up colors but was able to come up with cardstock that was very close.

I love this little cat as he (or she) is peekin' through the "hole". It is an unmounted rubber stamp that I found on the Addicted to Rubber Stamp site. Unfortunately I can't remember who it is by.

Photobucket

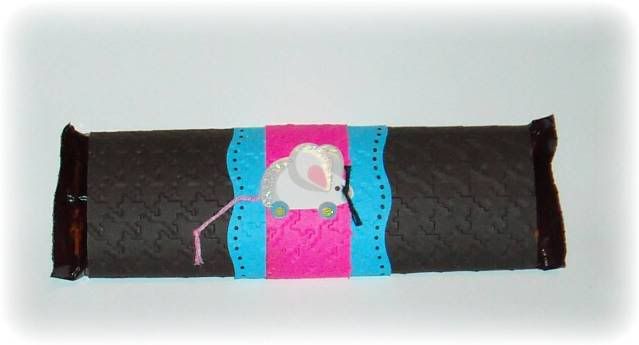
opps....I almost forgot to show you the cute candy bar wrapper I made to go with the card...


Photobucket

Make your friends laugh!

I couldn't resist the sentiment stamp I found at a recent expo. My friend was sorry she didn't see it. So to tease her I made this card. I hope you find it as funny as I do!?!

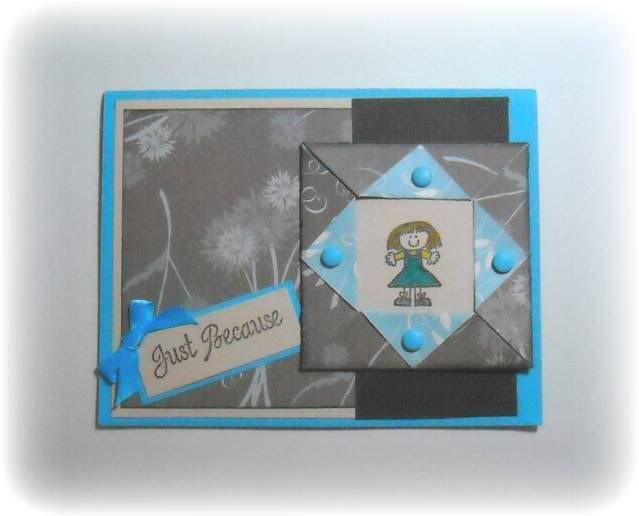
Here is the front of the card. No... this isn't the funny part!

Photobucket


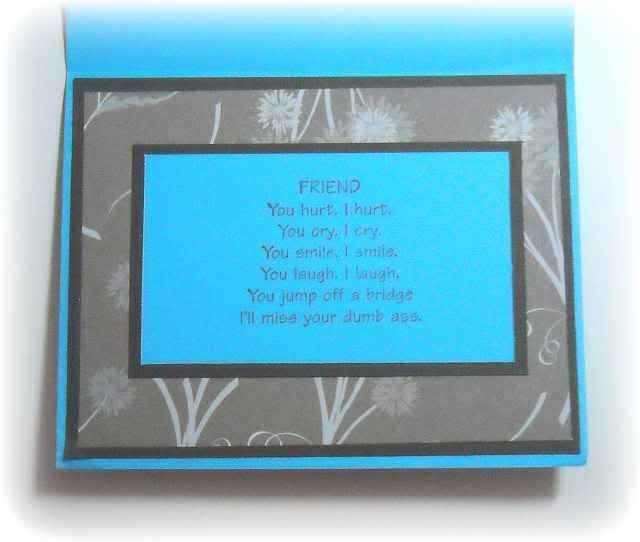
Here is the inside.... Are you ready????? You may have to click on the picture to see the larger version in order to read it.

Photobucket

Funny???

Saturday, April 18, 2009

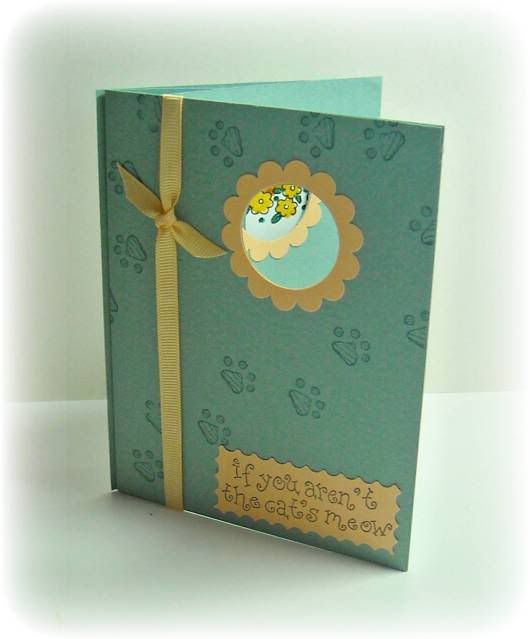
Peek A Boo Card

I saw a video that Dawn had made on creating a Peek A Boo card. Click HERE to watch it. I thought this was so cute and had to give it a try.

This is a thank you card for someone that really helped me out last week and since she is a hugh cat fan I decided to use a cat theme for the card. It's simply decorated since it's my first try at this. What do you think? Should I add flowers? More glitter? Coloring around the words? I just can't seem to decide.

Photobucket

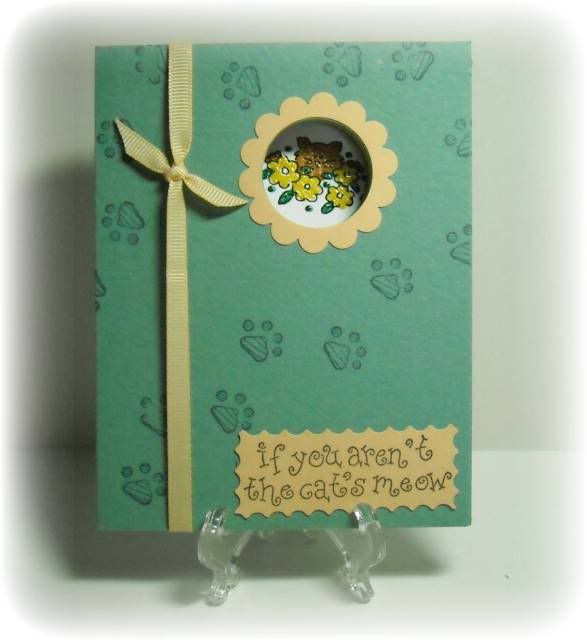
This is the card closed. I used Prismatics Island Mist Medium cardstock. I love the subtle texture and weight of this product. I'm having problems finding this cardstock now and I'm hording my stash!

Photobucket
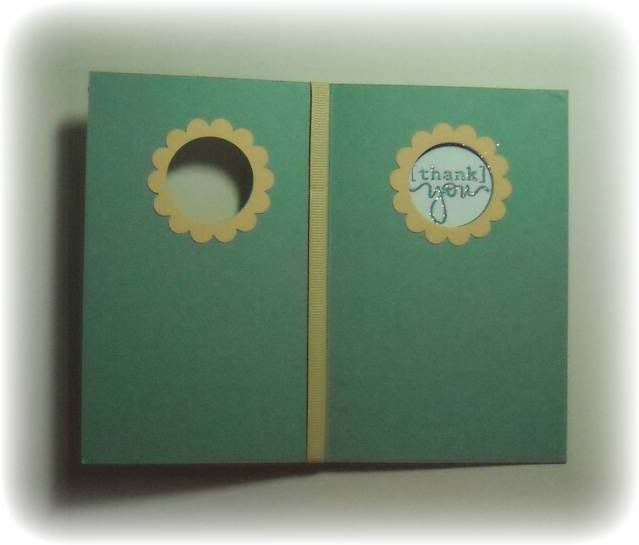
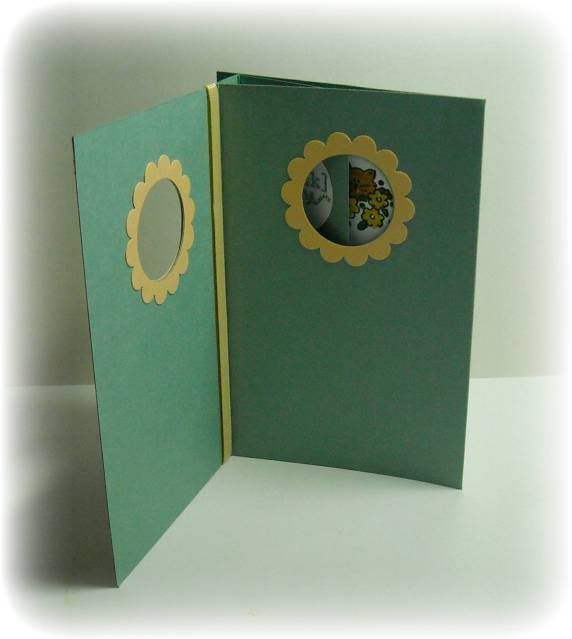
When the card is fully opened a new picture appears in the window. I glittered over the text. Of course I forgot to turn off my fan when I sprinkled the glitter and now my room, cat, dog, and desk are very glittery! LOL
Photobucket

Photobucket
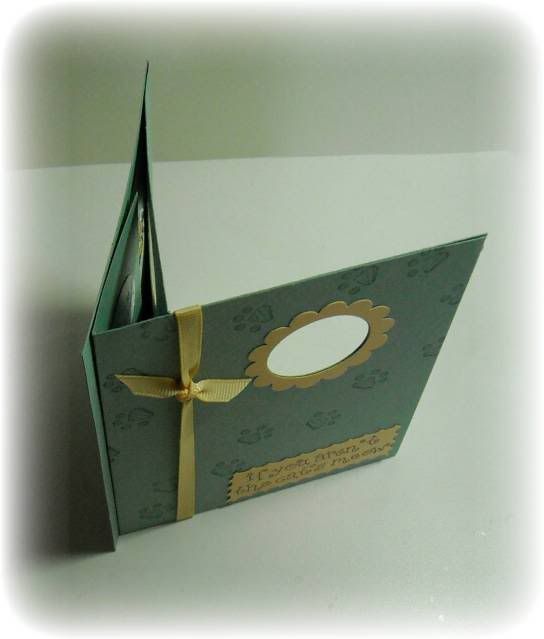
Here is a shot of the card as it is opening. See how the hidden panel begins to move into place?
Photobucket
This is the top view of the hidden panel. I am sure to be making more of these type of cards!

Sunday, April 5, 2009

Penny Black Hedgehog Easter

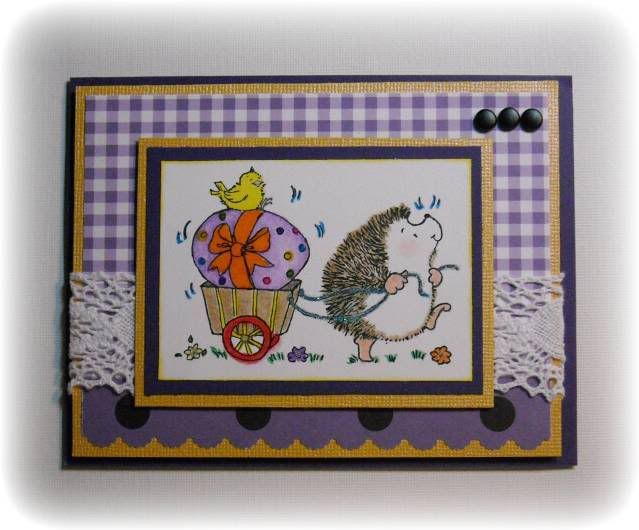
I was scrappin' with a friend and digging through all her wonderful stamps when I found this Penny Black stamp. It is a retired 2005 stamp so she graciously allowed me to borrow it. I stamped up an entire page of the image and just had to make at least one Easter card.

Photobucket

The egg was colored with Prismacolor pencils. I used embossing markers on the dots and heat set with clear embossing powder. The ribbon was also embossed with an orange embossing marker. I added clear stickles to the flower centers and glitter on the "ropes". I think this is a great easter image. Hope you do too.

House Mouse Easter

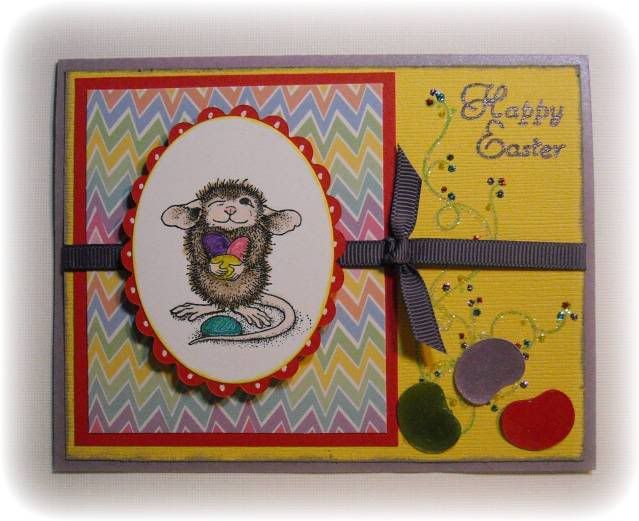
I love House Mouse images and this cutie was such fun to work with.

Photobucket

I stamped the image on Stampin Up's Whisper White cardstock and cut it out with an oval nestability. I also cut out a scalloped oval in red with a scalloped oval nestability. The mouse was colored with Prismacolor pencils and blended with mineral spirits. I colored the eggs with sparkling gel pens.

The jelly beans were a challenge until I found a nose to a pig on my Animal Kingdom cartridge! Using Design Studio I was able to remove the "cuts" that would have been on the shape and the end result is a perfect jelly bean! I cut them out in different colored cardstock and covered them with Glossy Accents.

The inside says "Do I smell Jelly Beans?". Isn't that cute?

Easter Basket Card

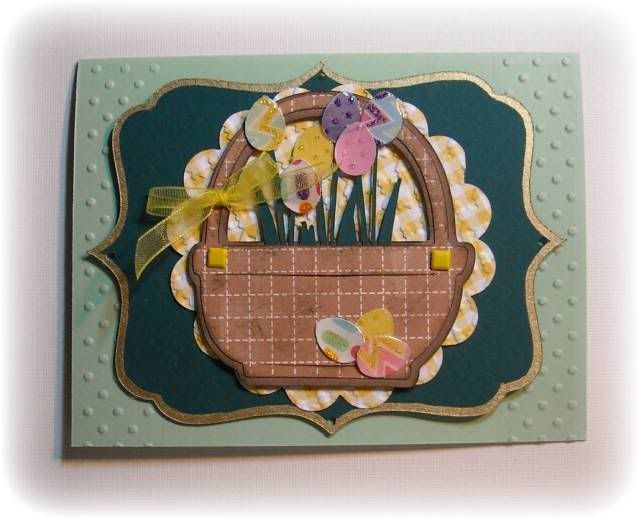
This card was made using my cricut and cuddlebug.

Photobucket

The label was cut from the Storybook cartridge. I put 18K gold paint on the edges. I used Mini Monograms to cut out the scalloped circle then ran it through the Cuddlebug using the Harringbone folder. All the eggs are from Doodlecharms. After they were cut I added stickles to parts of them, let that dry, than covered them with Glossy Accents.

The flower stems are from Walk In My Garden. They are actually the tulip border. I just put the eggs where the flowers would normally go. The basket is also from Doodlecharms. I pop dotted the basket and the label.

Tinkerbell Easter Card

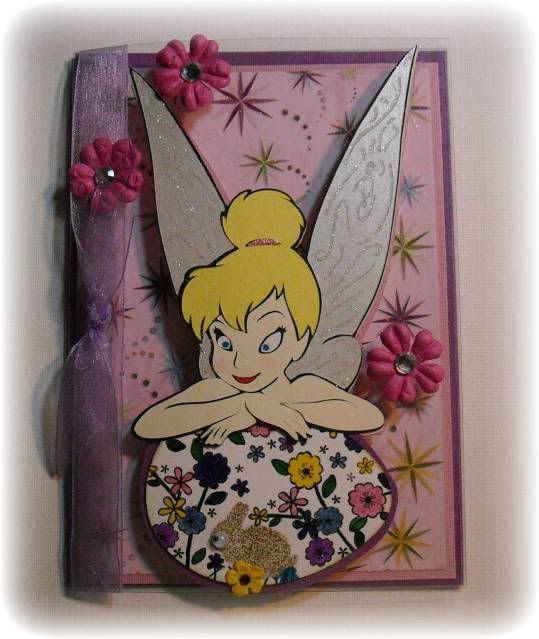
One of the ladies at work has a daughter that really loves Tinkerbell. I hadn't tried using my Tink cart yet but decided to give it a try. The tiny pieces are a challenge but I'm very please with how she turned out.

Photobucket

The egg was cut at 2 1/2" (real size) from Doodle charms. I stamped and embossed all the flowers and the bunny. The bunny was stamped with Versmark and clear embossing powder then while the powder was still hot I sprinkled golden sand powder over the top and heat it again. It give the bunny fur a cute look.

Tinkerbell's wings were cut using a silver shimmer paper (from HL) and glitter was added to the detail lines.

This card was made using a clear acrylic sheet from Sheetload Shortcuts. They are great to work with and have just the right weight to support larger/heaver images.