I have been busy posting on the Cricut Message Board and realized that I could not keep up with posting here and posting there. I've decided to put my posts here and link back.
I did this fun and quirky scrapbook page to remember an "Everyday" moment. We often forget those simple, unplanned, funny things that happen to us on an ordinary day. I didn't want to forget this one.
I think I used almost every Cricut font cart I own to create the title.
This is what happened while having dinner at a local restaurant on a Saturday night. BTW the restaurant is called Bonnie’s Diner. The waitress (Cathy) seats me and asks if I want coffee to which I reply “yes.” She brings the coffee and also hands me the menu. I reach for the creamers, open 3, pour them into the coffee… stir, stir, stir….when I pick up the cup, there are these little white lumps floating on the top! I looked at the creamer and it isn’t dairy, no refrigeration needed and I was thinking… hmmmm???? Cathy comes back at that moment to get my order. She looks down, sees the coffee and says “first you need a new cup of coffee.” She runs off with my cup, rinses it out, puts in fresh coffee and brings it back. We are chatting about what is good on the menu while I put creamer in the new cup of coffee. She’s watching me add the creamer and pretty soon…..more white lumpy things float to the top. I cracked up! She says “what the heck?” Cathy says maybe she didn’t rinse the cup out good enough, so off she goes to do it again. Only this time when she returns there is no coffee in the cup! I’m looking into the empty cup, then at her and laughing I said “did you forget something?” She says,” no…I want you to put the creamer in first, but shake it up before you open it!” I’m thinking….shake the creamers??? But I grab a few and start to shake, shake, shake and now I’m laughing even harder. The lady at the next table is about to bust a gut she is laughing so hard. Did you know if you shake up creamers they explode when you open them? Well they do! I opened the first one and creamer shot all over the table, which had me laughing even more. I finally get the creamer in the cup and Cathy pours in fresh coffee. Only this time she grabs the spoon and stirs it up (as if to imply that I wasn’t stirring it correctly) and……more little white lumps!!!! (BTW, the lumps now look more like bits of wax.) Now I have tears from laughing so hard! Cathy is laughing hysterically and goes to get Bonnie. After looking at the coffee she gets a new cup, puts coffee in it and watches me add the creamer. And with Bonnie, the waitress, the lady at the next table, and me all gazing down into this cup of coffee waiting for little white lumps….I lost it! I started laughing so hard I almost fell out of my chair! I grabbed my camera and snapped this picture of the little white lumps that promptly rose to the top again! Bonnie picks up the cup of lumpy coffee, grabs the bowl of creamers, looks at me and says, “You are not allowed to have creamer ever again!” Of course she is laughing as she says it. “You get milk from now on” she told me! Bonnie walks away, saying she was going to make a fresh pot of coffee. A little while later I get a fresh cup, fresh coffee and milk to add to it, and NO little white lumps! Of course when Cathy brings my check at the end of the meal she makes a comment about not charging me for the lumps! I love life’s unexpected little joys!
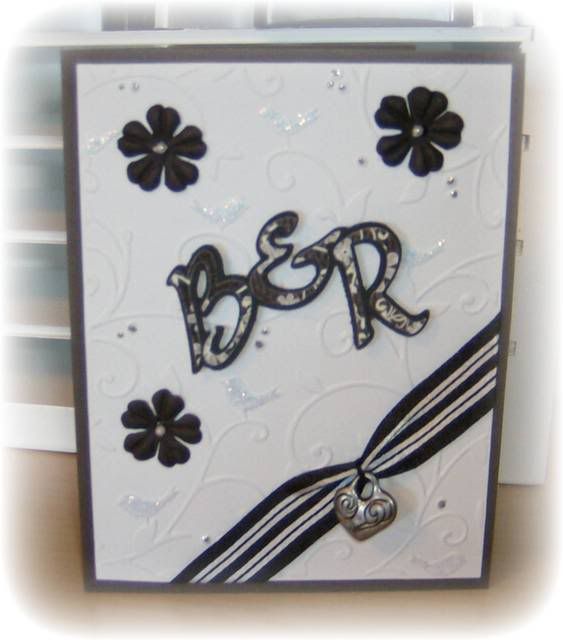 I love Black & White and decided to use these colors for an anniversary card.