Showing posts with label Tutorials. Show all posts

Thursday, April 8, 2010

Punch Art Bunny Instructions

I promised you the instructions for creating the Punch Art Bunny.  I finally finished it so here is a link that will allow you to save, print, and view them.  Have fun and let me know if you find this useful.

Punch Art Bunny Tutorial


If you need Oval Punches here are 2 of them made by EK Success (the company that makes Stampin UP's punches)  The links will take you to Amazon.com:
Ek Success PSPNPOV003 2-Inch Paper Shapers Oval Nesting Punch
Ek Success PSPNPOV004 1-1/2-Inch Paper Shapers Oval Nesting Punch

Saturday, January 10, 2009

CD Calendar Box Instructions

Photobucket

I received many emails asking for instructions on how to make the box that I created to hold the CD Calendars. The original instructions were given to me by my NSSS Jess-A-Girl. I modified them slightly by adding the decorative border at the top. The instructions are a .pdf file (you will need Adobe Reader to view it) Click HERE to open the file. You are welcome to save a copy to your computer or print it off for your own personal use.

If you try my instructions and they work for you please leave me a comment.

Tuesday, November 18, 2008

Post It Note Pad Holder


I'm making small baskets of goodies for my family this year for Christmas. As I get each one finished I'll post the instructions. The first item I'm putting in the basket is a simple Post It Note Pad Holder.

The supplies needed are:
Heavy weight double sided paper: I used Beary Patch-Romantiques-Autumn Forest double sided paper and DCWV Fall Stack cardstock. I used both sides of the Autumn Forest paper (the floral side for the center square, and the solid side for the scalloped border and small strip under the ribbon.)

The ribbon is from Stampin’ Up.

I got my post it note pads at the dollar store. They seem to be thinner than others (not as many sheets per pad) so I used double sided tape and stacked 2 pads together in each holder.


I created a file for you to download with the complete instructions. Click Here to open the .pdf file. You can save it to your computer and print it out. (You will need Adobe Reader to view and print.)

Stay tuned for my next adventure: Peppermint Patties Sandwiches!

Friday, October 3, 2008

Dahlia Folding Instructions

I had trouble understanding the dahlia folding instructions until I finally found directions that had clear pictures that documented each fold. This technique is very easy to do and I was amazed when I finally figured it out how simple it was to create these fantastic embellishments.

I decided to create a tutorial that I hope simplifies the folds so that anyone can try this technique. I saved it in a .pdf file (you will need Adobe Reader to view it) Click
HERE to open the file. You are welcome to save a copy to your computer or print it off for your own personal use.

If you try my instructions and they work for you please leave me a comment.

Happy creating!

Sunday, September 21, 2008

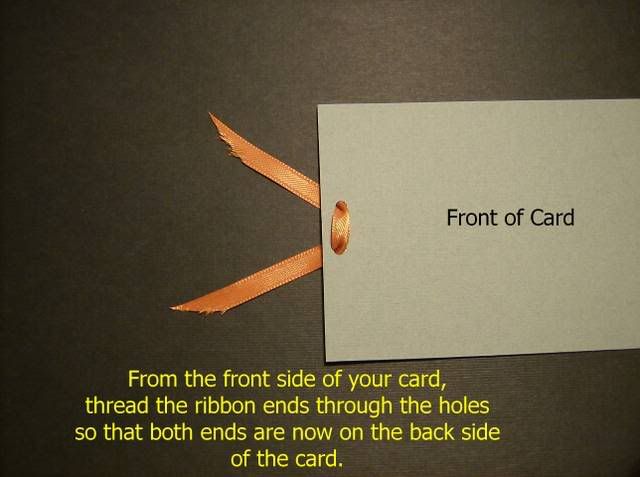
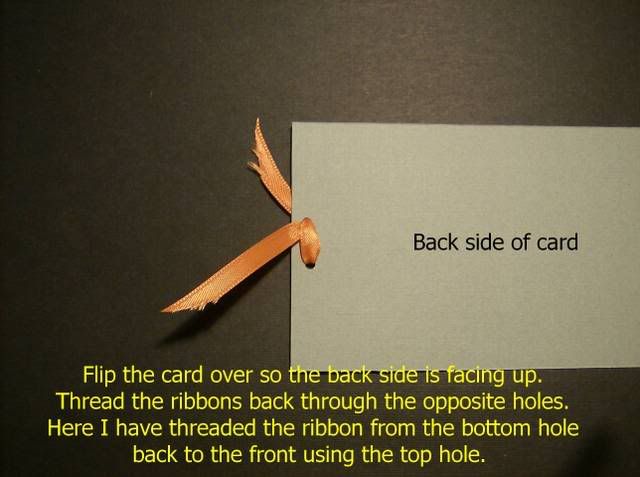
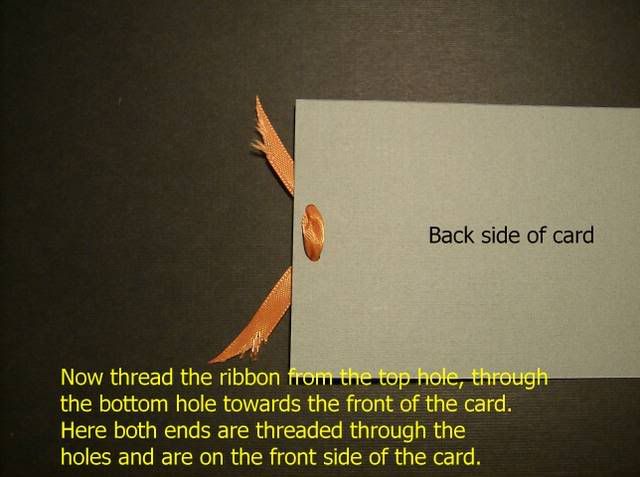
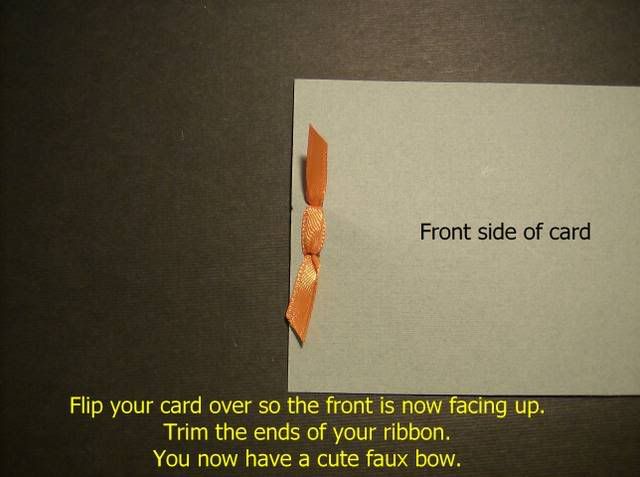
Making a faux bow

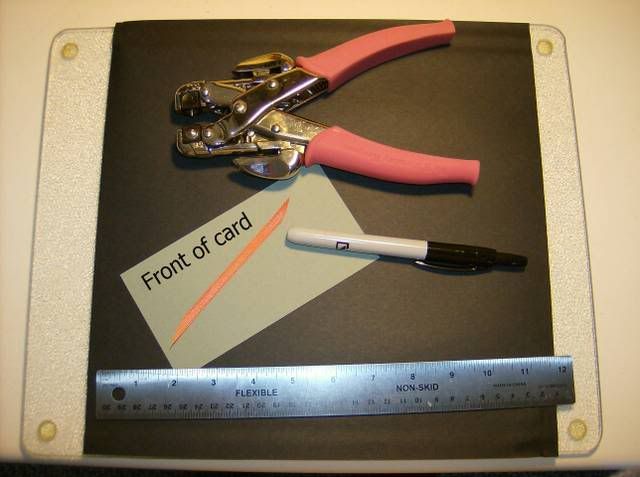
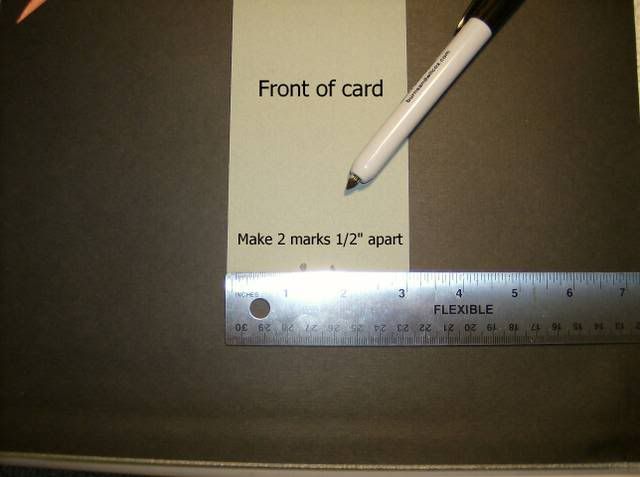
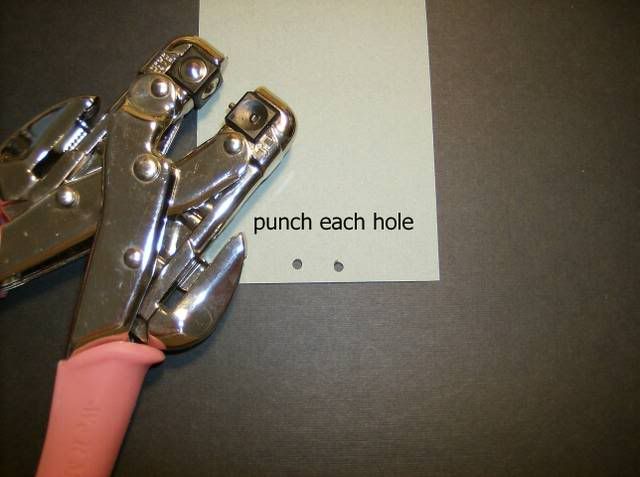
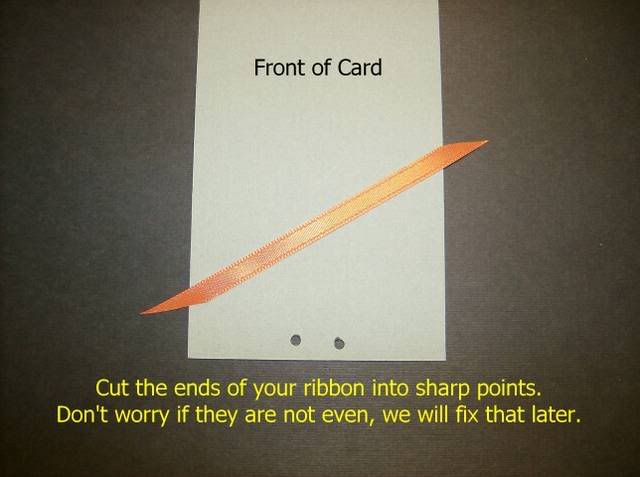
Instructions for making a faux bow. Simple and fast!

You will need a ruler, marker, hole punch, ribbon & cardstock.


Saturday, May 10, 2008

Make your own rub-ons

This technique was posted on the cricut message board. I can't find the orignal post but when I do, I'll give credit to the poster.

To create your own rub-ons you will need:

Note: This is done using an inkjet printer.
  • 1 LAZER JET transparency sheet. These can be purchased at most office supply stores. I got mine for 65 cents at OfficeMax.
  • Using your word processing software (I use Microsoft Word) type in the text, or picture, you want to use. You can use any font available on your computer.
  • Print your document - but with a twist....click on the print button just like you would normally but before you hit OK go to PRINTER PROPERTIES. Change the paper type to Transparency. Then go to FEATURES and turn on MIRROR IMAGE. Now click OK and start the print.
  • After the transparency has been printed set it aside. DO NOT immediately try to transfer it to your project. Wait for a minimum of 2 minutes. You might need to wait 5 or 6 minutes. The wait time will depend on your individual printer and how much ink it places on the transparency. If you do not allow this wait time the ink will smear between the letters.
  • Apply the rub-on like you normally would. (I use a popsicle stick)
  • When you are done, wipe off the transparency with a baby wipe or wet paper towel. The transparency can be used over and over!

This is a terrific technique and is a very thrifty way to save money on stamps. Now you can create your own sentiments for every occasion!