I have updated this post in response to all the questions I have received. Hope this helps!
To create the calendars cut 2 pieces of cardstock. One that is 5" x 4 3/4" and the other at 4 3/4" x 4 1/2". The first one is your base, the second one is your mat. Then cut a piece of patterned paper at 4 1/2" x 4 1/4".
For each month I used my Cricut cartridges for some part of the design.
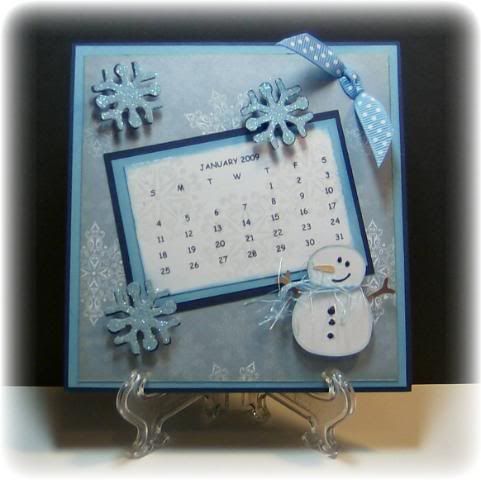
January: Doodlecharms (Snowman), JOTS (Snowflakes) - After cutting out the snowflakes I ran them through my xyron upside down and added glitter. The snowflakes on the calendar were embossed with versamark and clear embossing powder.
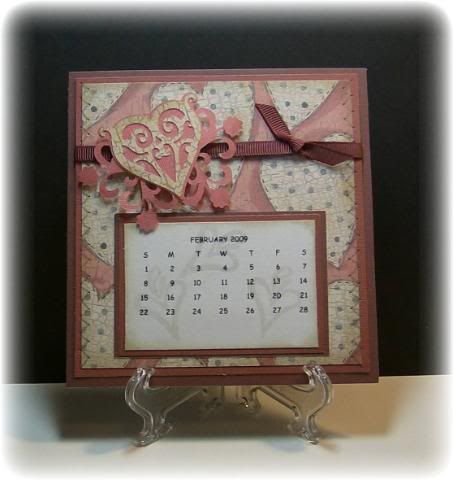
February: Storybook (Heart & Florish) - I used design studio to weld the heart and flourishes together then layered a single heart on top.
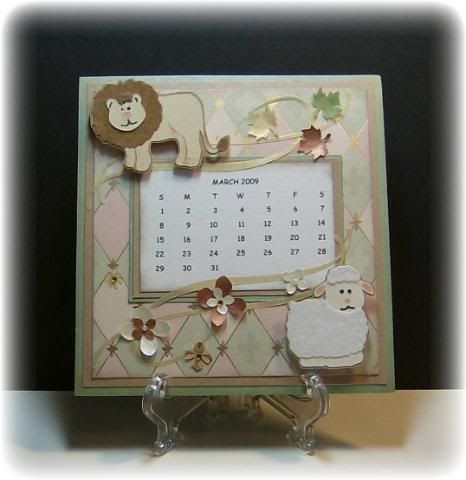
March: Animal Kingdom (Lion & Lamb), Calligraphy (Flourishes) - The lion's mane and the lamb are both covered with flocking.
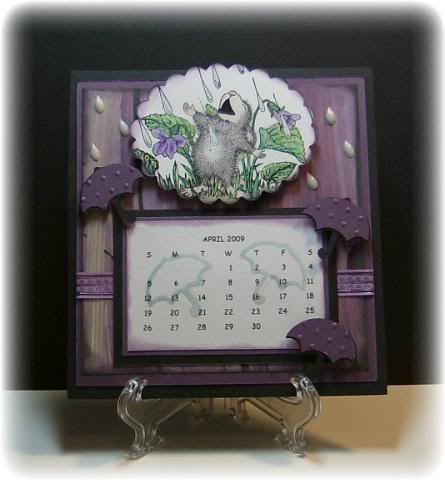
April: Pooh & Friends (Umbrellas) - I had to toss in at least 1 house mouse! I cuddlebugged (is that a word?) the umbrellas with the swiss dots folder.
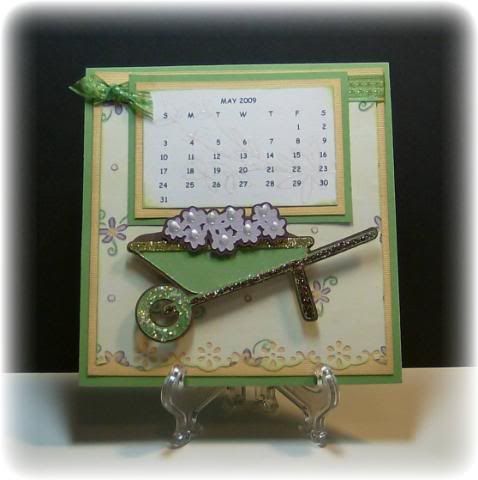
May: WIMG (Wheelbarrow) - Here I used gold glitter for the rim of the wheelbarrow and stickles on the rest. White liquid pearls was used for the center of the flowers. I embossed flowers on the calendar using VersaMark and clear embossing powder. Used the MS lace border punch on the bottom.
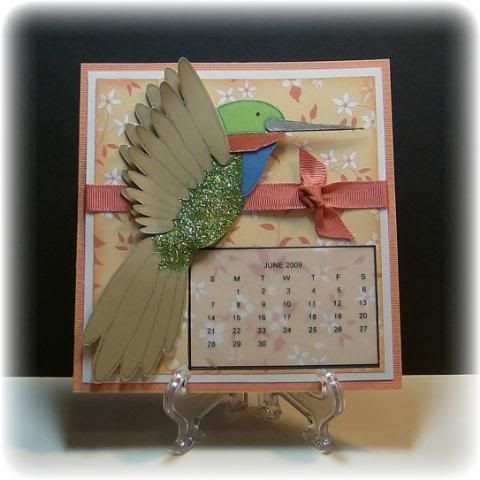
June: George (Okieladybug's Hummbingbird Cut File) - JUNE USES THE HUMMINGBIRD CUT FILE FROM OKIELADYBUG...THANKS SO MUCH OKIE!!! I added stickles to the breast of the bird and curled up the tips of the wings. I printed some of the calendars onto transparencies. On the back side I used a black sharpie to make a border. Using a MS ballpoint gel pen I ran a thin line of glue to stick down the calendar. You can't see the glue at all.
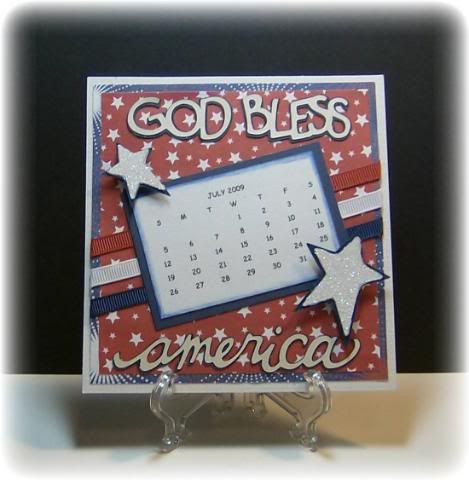
July: Beyond Birthdays (God Bless & America) - The stars were glittered on this one.
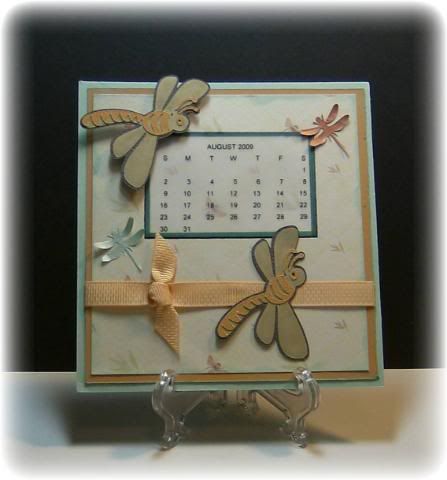
August: Pooh & Friends (Dragonfly) - I love dragonflies and couldn’t resist adding them to one of the months.
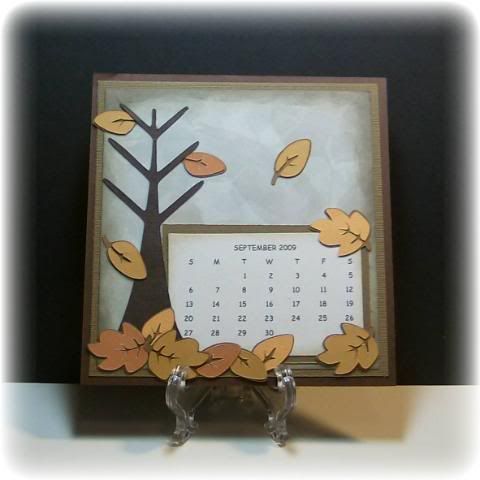
September: Pooh & Friends (Tree & Leaves) - Did you ever notice that on Pooh & Friends when you cut out the leaves it is 2 different kinds of leaves? The first tree I made was really silly, it had maple leaves and oak leaves!!!! I redid it and used the maple leaves separate. I did a lot of inking on the edges of this one with Tim Holz distress inks.
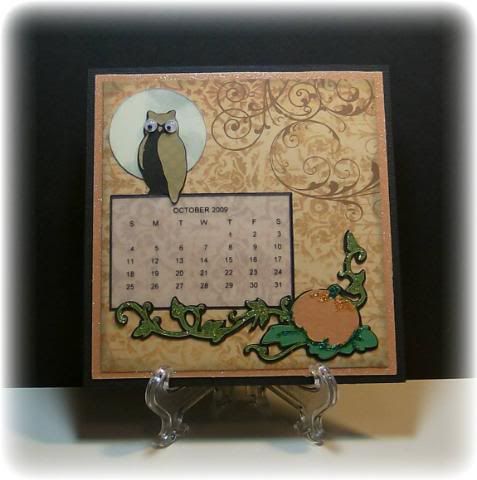
October: Happily Ever After (Pumpkin), Pooh & Friends (Owl), George (Moon) - Tossed in some silliness with googly eyes on the owls. I cheated and used stickles on the pumpkin vines because I couldn't get the layers to cut cleanly at this small of size.
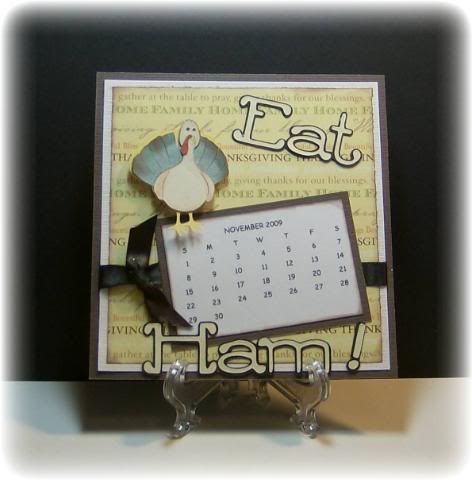
November: Animal Kingdom (Turkey), Tear Drop (Eat Ham) - My favorite! I love this saying!
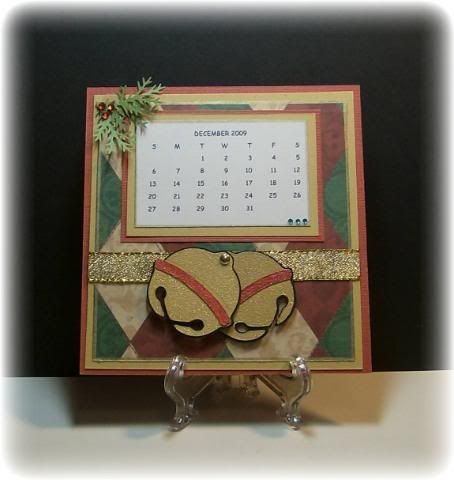
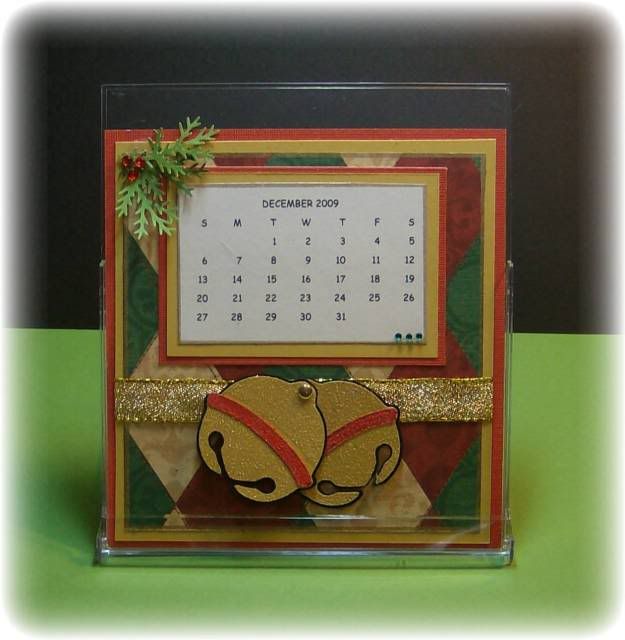
December: Christmas/Noel (Bells) - I made a mat to cover the ribbon section of the bell then covered the entire area with VersaMark. I sprinkled on antique gold embossing powder and heat set. The red ribbon was embossed with red embossing powder then glued to the bell. They really look like metal bells in person. Added a touch of greenery using the MS branch punch for the corner.
Here is what they look like displayed in the cd case:
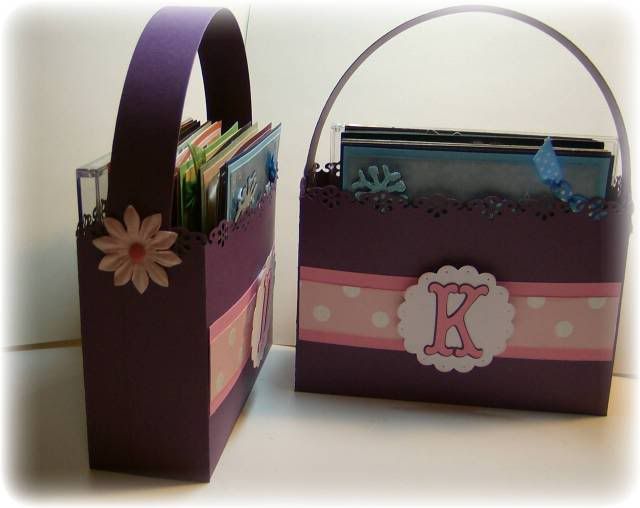
I created this cute box to hold the calendars. Mini Monograms (Scalloped Circle), Storybook (Initial). MS lace border punch on the top of the box.
o wow this is so beautiful, I love your calendar, great work.
ReplyDeletetake care Linda from Holland
Pam, do you have directions on how to make your little case?
ReplyDeleteWhat a really lovely Calendar and beautiful work x
ReplyDeleteWow, your calenders turned out awesome! I am going to add this to a list of "to do" - just not sure when (lol).
ReplyDelete