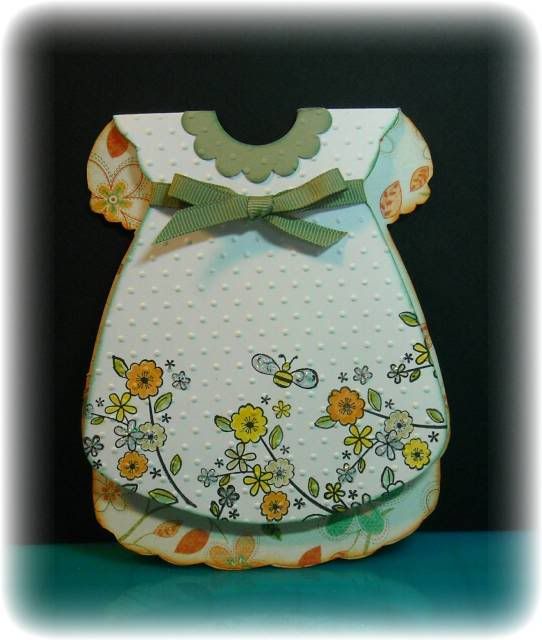
I created this dress card for my DGD's 2nd birthday. I found the template here. The steps I used to make the card are:
1. Print the template onto cardstock of your choice. For mine I used Stampin Up's Whisper White.
2. Cut out the template.
3. Lay the template on top of patterned paper so that the shoulder fold is at the edge of the paper. Trace around the template on to the patterned paper. You are only going to trace the large (back) side of the dress.
4. Stamp your images onto the front side of the card. Color in as you wish. I used an aqua brush and Stampin Up inks.
5. Cuddlebug the card. I used the swiss dots folder. It took 3 passes to do both the front and back.
6. Score and fold the dress.
7. I used a 1" circle punch to create the neck opening. Put your punch 1/2 way over the fold to create a 1/2 circle on the front and a 1/2 circle on the back.
8. Punch a 1" circle into a scrap of cardstock to begin to create the collar. Use a scalloped circle punch centered over the 1" hole and punch out. (I ran mine through the Cuddle Bug before glueing it down) Cut this in 1/2 and glue 1/2 to the front around the neck opening and the other 1/2 to the back. I found this worked better than just folding the scalloped circle and gluing it down. When I did that and opened the card the collar popped off.
9. Glue the patterned paper inside the dress. Trim with an Xacto knife if necessary to get a clean fit.
10. Ink all your edges.
11. Add ribbon and any other embellishments you want. I added stickles to the bee's wings and some of the flowers.
Now you have a darling little dress card!
Oh Pam, how darn cute is that.. and thank you for the awesome directions... (you knew I would be asking, didn't you. lol) Very very cute.
ReplyDeletethis is gorgeous!! wow simply lovely!
ReplyDeleteCute card! Thanks for idea!
ReplyDelete