Saturday, March 27, 2010
Emboss Resist
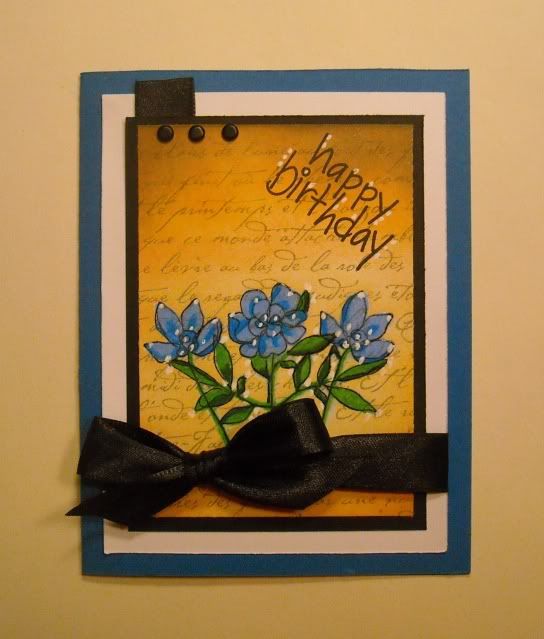
I have been playing around with the Emboss Resist technique lately. This really is a ton of fun!
For this card I started by stamping the flowers with Stazon Black ink. The flowers were colored in with Prismascolor pencils. Then I went over the flowers with a Versamark pen and heat set clear EP.
Now the fun begins... Using one of my script background stamps I stamped using Stazon Dove Gray over the entire piece of cardstock. Take a soft cloth and wipe the ink off of the flowers.
Next using any colors you choose sponge your background. When you finish that wipe off the flowers one last time.
Isn't that cool? I added some white dots using a gel pen to the flowers. It dries just fine on top of the EP.
Mat your image and you have a truly one of a kind card. Give it a try!
Sunday, March 7, 2010
Shaving Cream Background Revisited
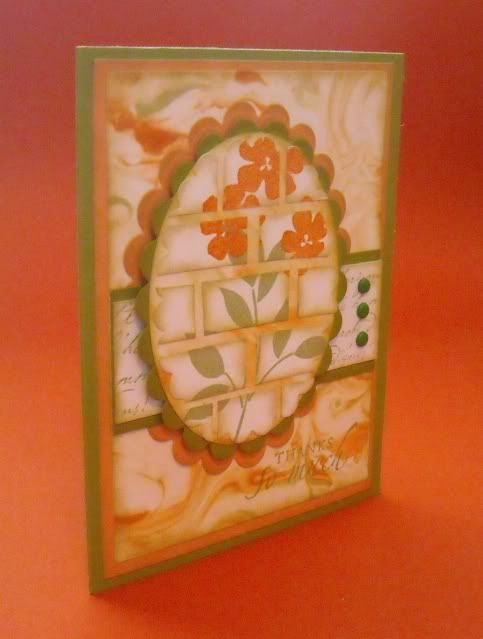
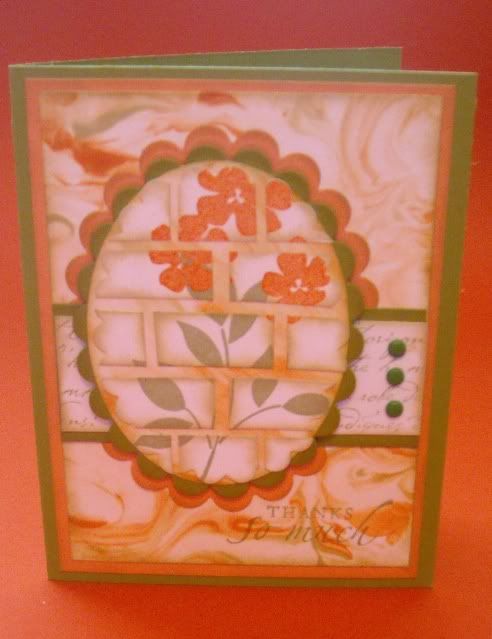
Ok, so I got so hooked on the Shaving Cream Backgrounds that I had to try it again. Here is another Thank You Card that uses this technique plus a technique that creates "bricks" out of your image.
Once again I used Groovy Guava reinker but also used River Rock. Since River Rock is green based it came out a shade of green close to Old Olive and Mellow Moss. Swirling the shaving cream is such fun. Reminds me of finger painting as a child!
To create the look of bricks stamp your image then cut it into 1/2" wide strips. Cut each strip into 1" lengths. Alternate your cuts to create the brick look. This technique is illustrated on Splitcoast Stampers if you want to give it a try.
The edges of each "brick" was inked with Distress Ink in Old Paper. By inking the edges you define the bricks so they stand out when your image is reassembled.
This will be a nice card to give when I want to say thanks.
Shaving Cream Backgrounds
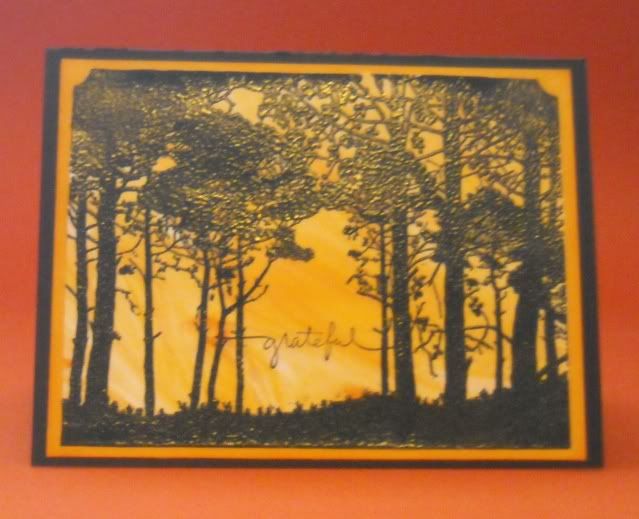
I read about a technique using shaving cream and reinkers to create stunning backgrounds. It is very simple (messy, but simple) to do and you can really create a background in exactly the right color and design you are looking for. The background on this card used Marigold Morning & Groovy Guave reinkers. I used generic white paper, nothing fancy. The swirl of color is just right for a sunset sky background.
I used a stamp that was purchased at an expo several years ago from Lost Coast Designs. They have great stamps! After the background dried I inked the stamp with Versamark and heat set black embossing powder. The effect is truly amazing.
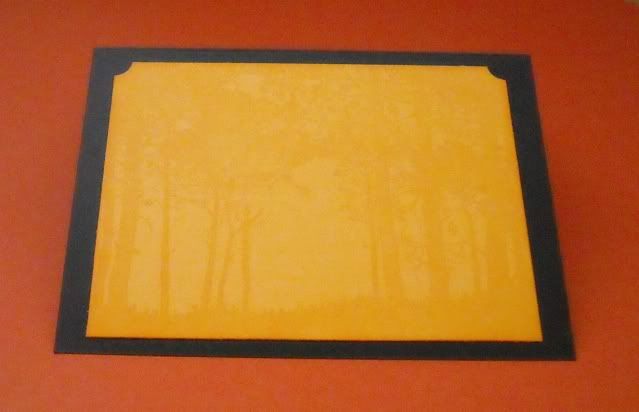
For the inside I reinked the stamp with Versamark and stamped onto Marigold Morning cardstock. Hit it with my heat gun to quick dry the ink and it gives a great subtle background for the inside.
A simple to create but good looking thank you card.
Subscribe to:
Posts (Atom)