Monday, September 29, 2008

Happy Owloween Card

This card was a learning experience using Design Studio. I created the card as one cutout in the gray cardstock, and cut out the layers separately. The background star paper should be on the inside of the card but my cardstock wasn't quite heavy enough to leave the "window" open. So I had to attach it to the back of the image. My cut file worked great so I can recreate this card when I get heavier cardstock.

I used Design Studio plus 6 different cartridges. Animal Kingdom for the Owl, Doodlecharms for the Pumpkin and Spider, George for the Moon, Opposites Attract for the word Owloween, Pooh & Friends for the Tree Branch, and Walk In My Garden for the word Happy.

The owl was cut at 2". I flocked the spider and added wiggle eyes. The pumpkin face is a stamp from Peachy Keen stamps and yellow stickles were added to the eyes and mouth. The doodles on the edge of the card were made with orange glitter gel pen and black stickles for the dots. The tree branches are 2 separate cuts that are overlapped. I had some patterned paper that looks like wood which really turned out perfect for the branches.

I learned many things creating this cut file. I won't be so hesitant to really put Design Studio to use in the future.

Monday, September 22, 2008

Sarah Kay Birthday Card

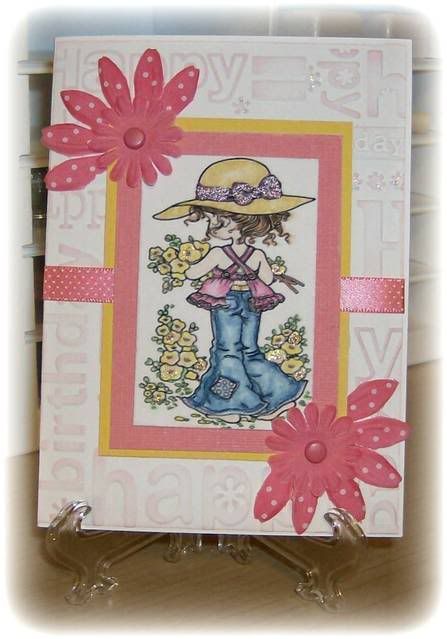
This is a birthday card for a lady at work that is turning 50! I used a computer printed Sarah Kay image. Colored her with Prismacolor pencils and blended with Gamsol. Stickles were added to a few of the flowers and to the ribbon on the hat. I used the Happy Birthday Cuddlebug embossing folder for the background. I lightly went over the embossing with pink chalk ink. (BTW the ribbon is not really crooked, but for some reason it looks crooked in the picture???)


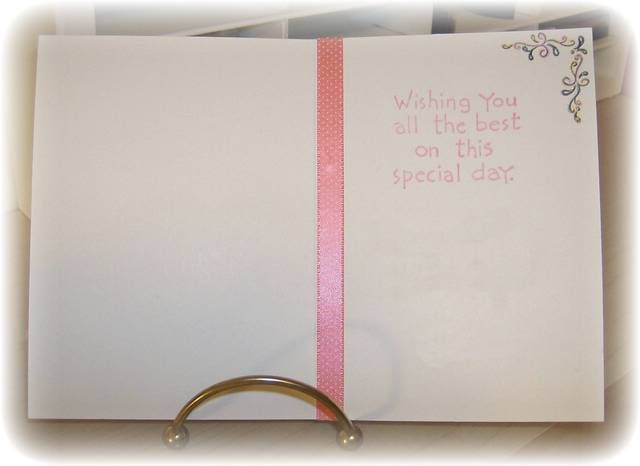
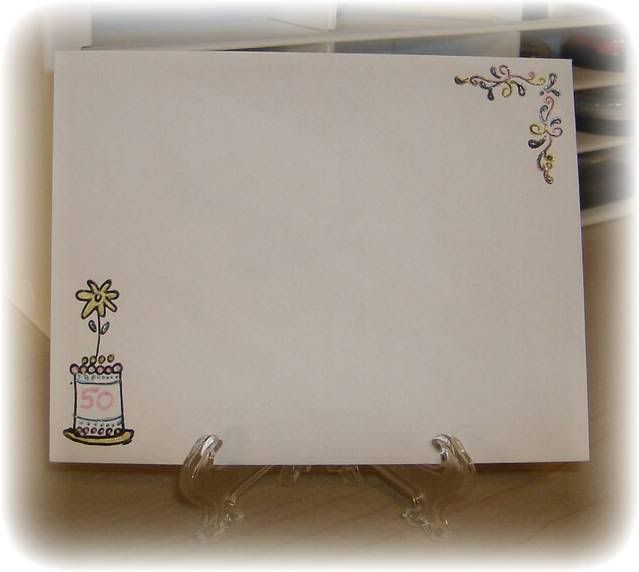
I don't usually do much on the inside of a card or the envelope but I was feeling crafty tonight and decorated both. The corner stamp is a Studio G #11 that I stamped in black dye ink then went over with glitter gel pens. The birthday cake stamp is a $1 stamp I found at JoAnn's. I also colored it with glitter gel pens and wrote 50 in the center.


Sunday, September 21, 2008

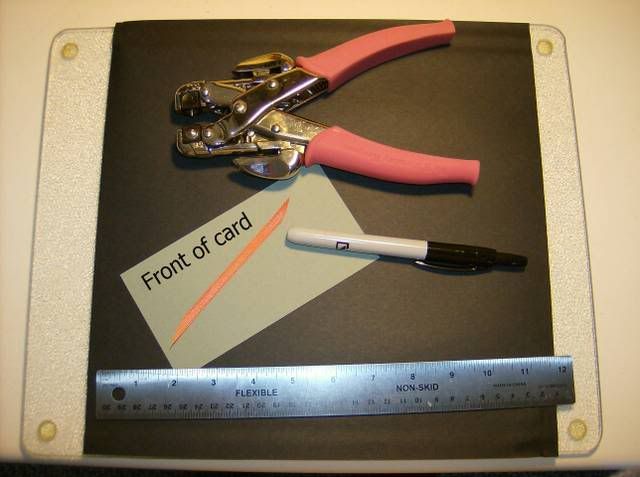
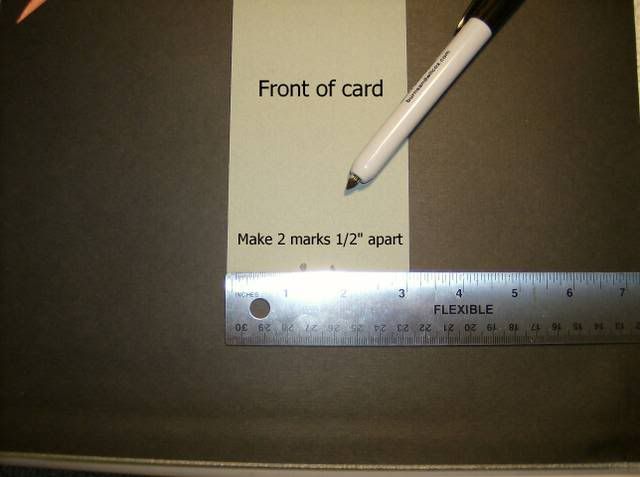
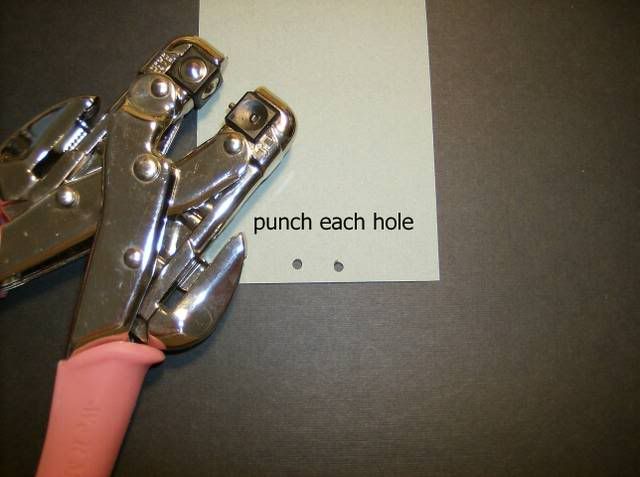
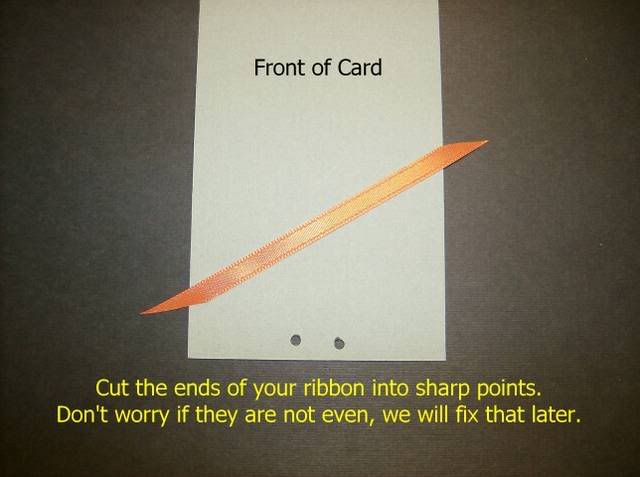
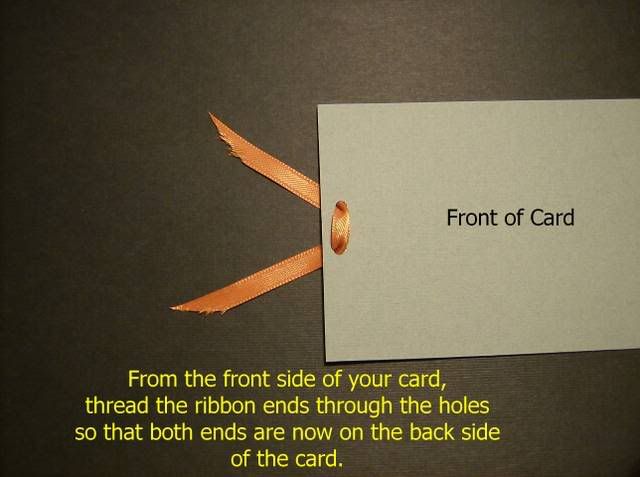
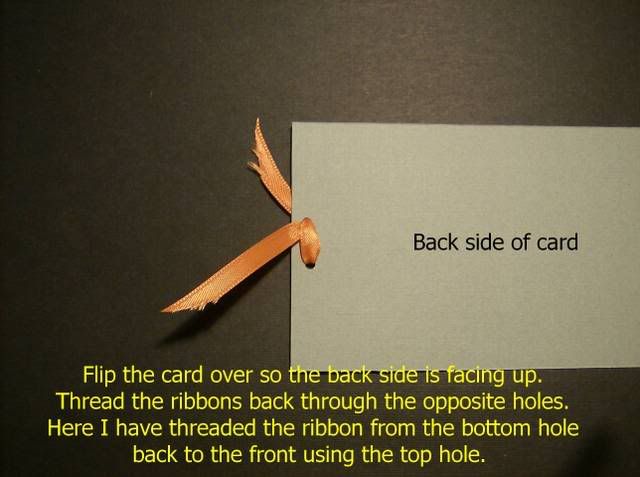
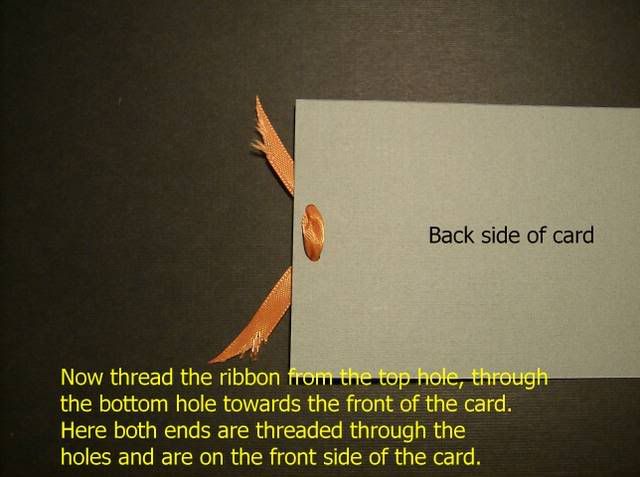
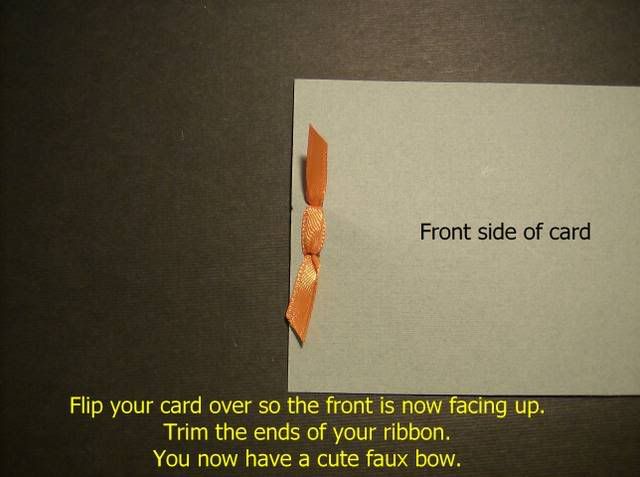
Making a faux bow

Instructions for making a faux bow. Simple and fast!

You will need a ruler, marker, hole punch, ribbon & cardstock.


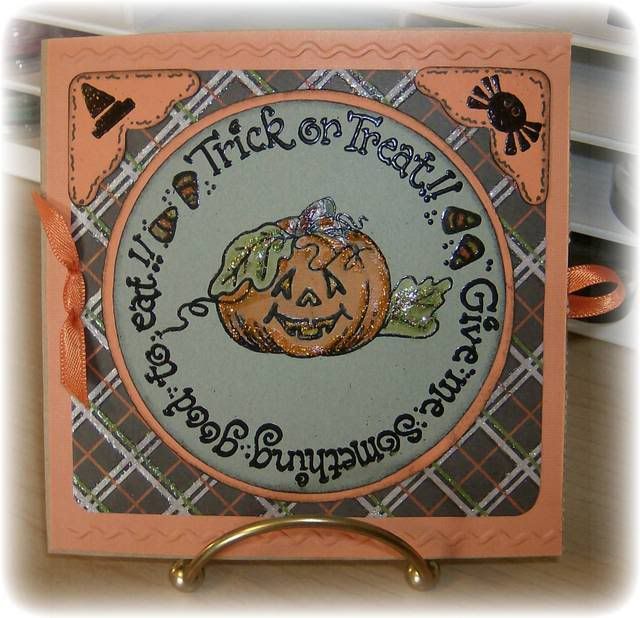
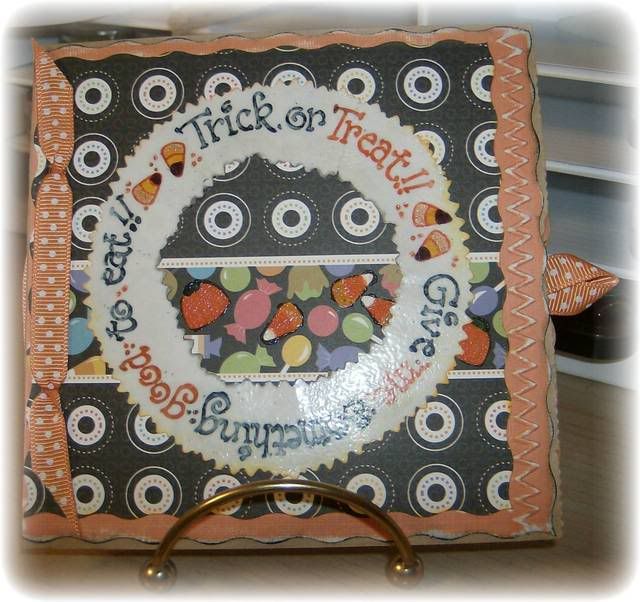
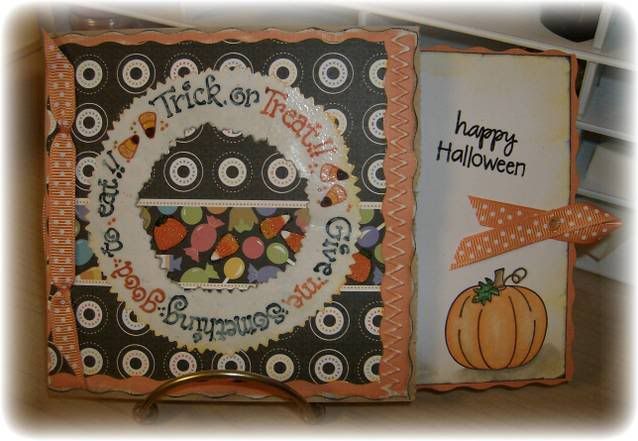
More Halloween lunch bag cards

Jasmine Cartridge used for the corners, George Cartridge + Design Studio used to create the candy corn.


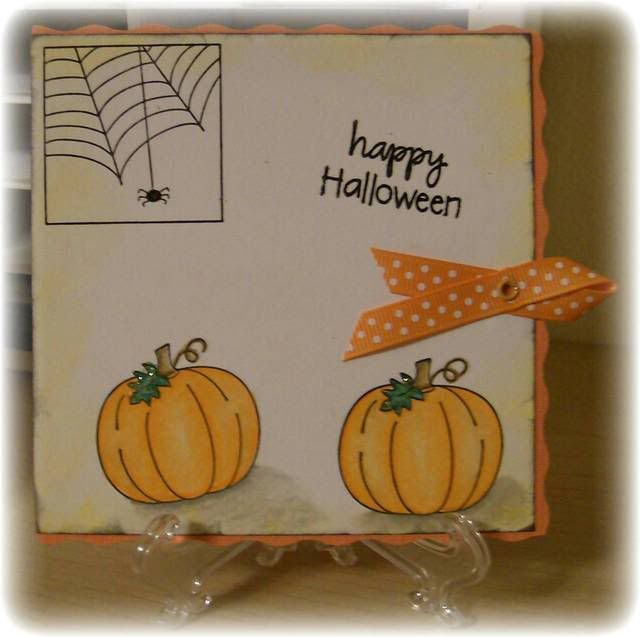
I used the masking technique to stamp the pumpkins & leaves in this one.


The pumpkin is flocked on the pull-out.

Friday, September 19, 2008

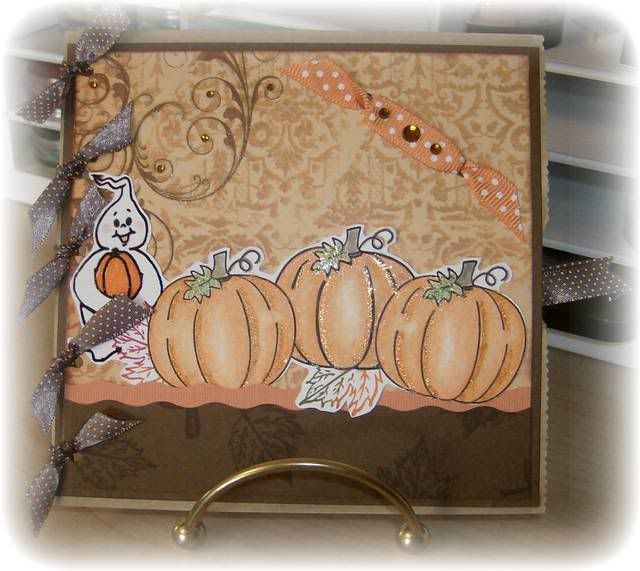
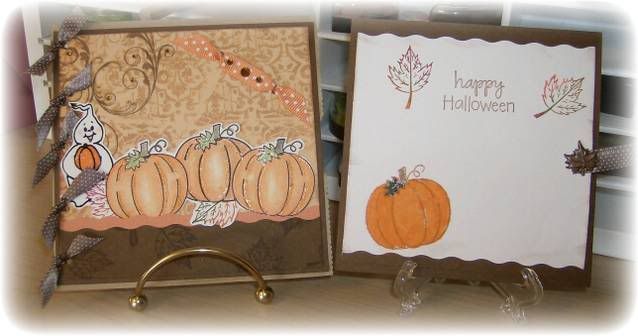
Lunch bag Halloween Card


This was so much fun to make! I received a super "goodie" package from my Not-So-Secret-Sister and I couldn't wait to create! I saw the directions for a card made with a lunch bag and thought it was the cutest idea. All the items used for this card (except for the orange cardstock) were in my package. The ring stamp is the neatest stamp I have ever seen. I used watercolor markers to color the stamp. Stamped it onto white cardstock then covered the entire paper with VersaMark Watermark ink. Sprinkled clear embossing powder over the top of the whole thing and heat set it. Then using sissors I cut it out.
To create the card, use an everyday lunch bag. Fold it in half, then use double sided tape to hold it together. That's it!

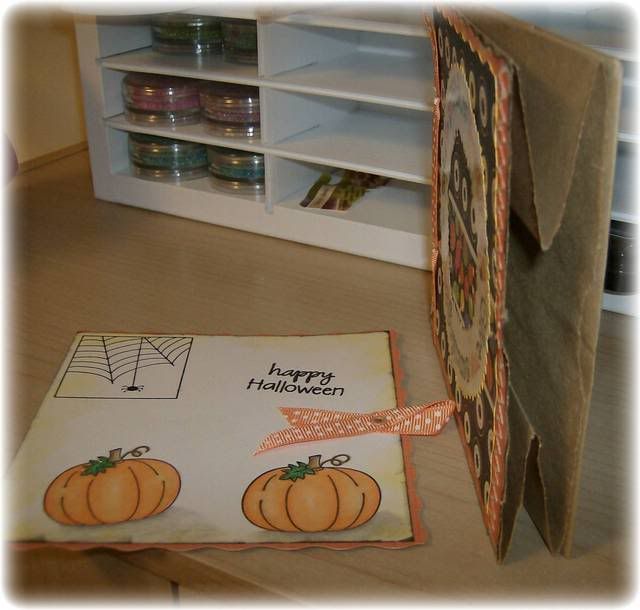
There is a pull-out inside the bag.


I stamped the pumpkins with black die ink then colored with Prismacolor pencils and blended with gamsol. Stickles were added to the leaves.


Here is a side view of the card:


The paper is from the DCWV's Fall Glitter Stack. I added embossing and glitter gel pens to some of the candy to add sparkle.