Thursday, September 24, 2009
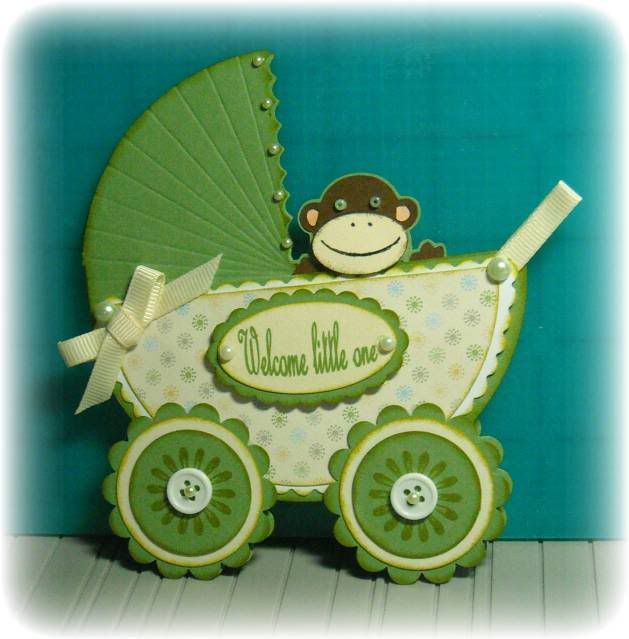
Baby Carriage Card
A gal I work with is going to be a 1st time Grandma and the shower for her son and daugher-in-law is this weekend. All of us at work chipped in to get the gifts and I volunteered to make the card. Since the baby's room will be done in monkeys I had to incorporate one somehow.
I saw this card created by Jill (click here) that is so adorable I had to case it.
The cardstock is Wild Wasabi (sorry the pictures are goofy. My lighting was off.) I had to improvise since I don't have the Big Shot Dies, so I used my coluzzle circle template to cut the circles. I overlapped 2 of them so that the card would open on the side.
The Designer Paper is Stampin Up Delicate Dots and the flower stamp in the center of the wheels is from a Stampin Up set called Looks Like Spring.
The monkey was cut on my Cricut using the New Arrival Cartridge. I added tiny beads for the eyes.
I computer generated the Welcome Little One saying and then punched out with an oval punch.
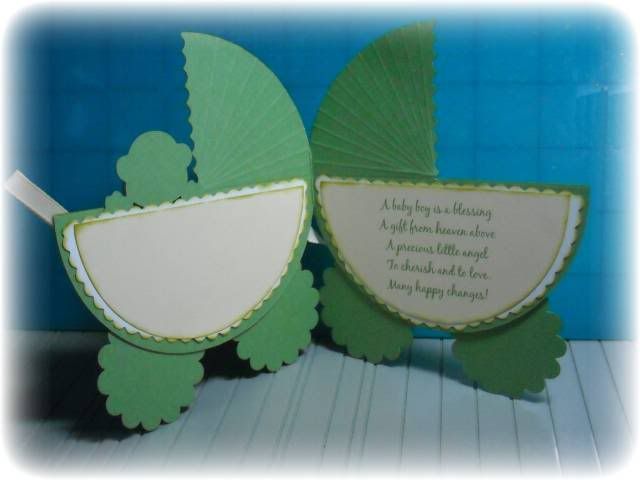
I also computer generaged the inside verse. (If you click on the picture you can read it better.)
The back of the card was decorated too. I got carried away I guess! Because I even cut a monkey to put on the front of the envelope...
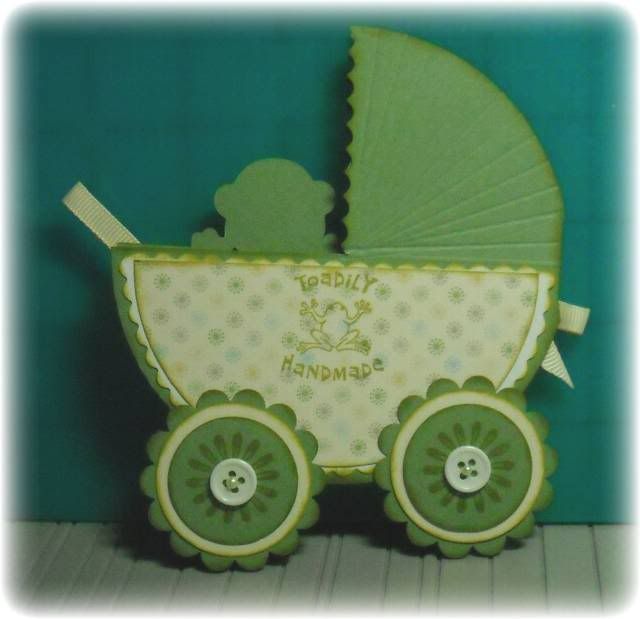
So there you have it.... my first carriage card. Isn't this cute?
Sunday, September 20, 2009
No cards, just a quick note...
I've been busy preparing for the Stampin Up party I'm hosting today. Made 2 yummy desserts... Chocolate Vanilla Swirl Cheese Cake and Strawberry Margareta Frozen Dessert. I also made White House Punch. It is one of my favorite punches. It has a nice clean citrus flavor and goes nicely no matter what you are serving. I didn't want a punch that's flavor would clash with my desserts. I know, I'm so picky! LOL I finished all the "thank you" sheep too. It should be lots of fun. My demonstrator has so many new things to show us. I can't wait! Have a great Sunday all.
Monday, September 14, 2009
New Layout?
I finally changed my blog layout to be 3 columns. Although my followers aren't showing (which I'm trying to get fixed) I like how the blog looks. It's easier to manage and the blog doesn't take as long to scroll to the bottom. What do you think?
Sunday, September 13, 2009
Cricut Celebrates it's 100th Cartridge - Week 1
Cricut is celebrating their 100th cartridge—Winter Woodland! They are giving away 100 cartridges over the next five weeks (20 per week). To enter the contest we need to post a reply on the weekly thread over on the Cricut Message Board and to get an extra entry, we can post a link to the product details for Winter Woodland on our blog.
This is a terrific cartridge and I've been really wanting to try it! Take a look. You will love it! Here is the link.http://www.cricut.com/shopping/ProductDetails.aspx?id=361&s=1&sc=2
Saturday, September 12, 2009
Sheep Party Favors
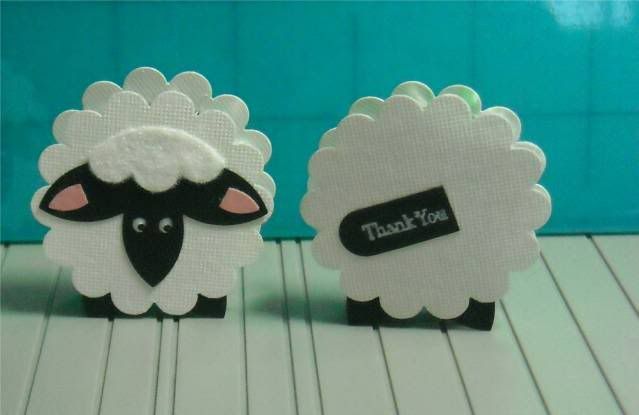
I'm hosting a Stampin Up party soon and needed to create party favors. I saw these cute sheep made using punched shapes and decided to recreate them. I enhanced the design a bit by adding the ears and flocking. I think these are so cute, especially since they stand up!
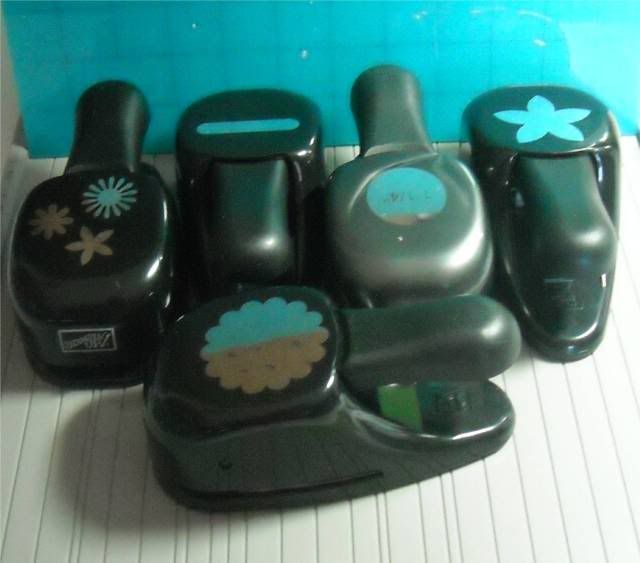
These use 5 different punches: word window, 5 petal, scallop circle, 1 1/4" circle, and a retired punch that goes with the "Looks Like Spring" stamp set.
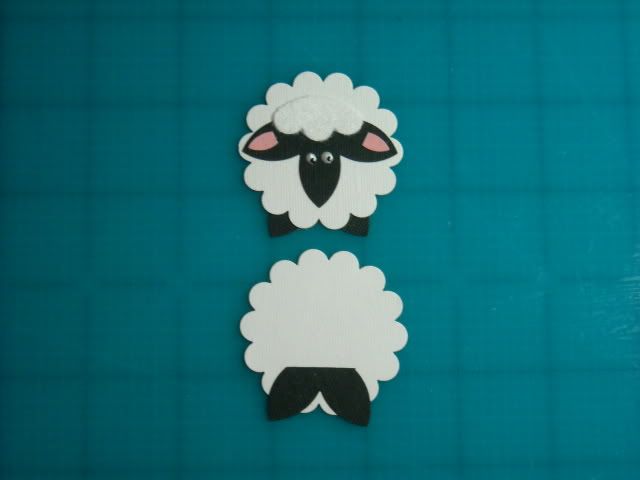
The sheep is made by punching out 3 white scallop circles. Use the 1 1/4" punch to cut off 3 scallops. This will be the fur on the head of the sheep.
Punch out 2 black 5 petal flowers. Use sissors and cut off 3 petals (as a group). This will be the face of the sheep. The remaining 2 petals become the feet. Do this to both punched flowers. You will have 1 extra face. The feet are glued to the inside of the scalloped circle like in the picture below with just the tips of the petals showing on the front side.
Using just the small 5 petal flower punch out a pink flower. Cut off 2 of the petals individually. These will be the inside of the ears.
The tail is made by punching out a piece of black cardstock with the word window punch. Use sissors to cut it off so it is only 1/4" long. I decided to make the tail a bit larger and stamped the "Thank You" using the Lots of Thoughts stamp set in white pigment ink.
I flocked the piece that is the fur over the face before I glued it by running it through my Xyon and pressing white flock on the sticky side.
To make the eyes put 2 tiny drops of white liquid pearls on the face and let sit until totally dry. Then I took a sharpie marker and made 2 small black dots on the white eyes.
When you have your front and back done, use adhesive to stick them to a peppermint patty. See how they stand up on their own? Aren't they just toooooo cute? And so very easy to make. I finished 14 of them in 1 hour.
Monday, September 7, 2009
Trying new techniques....
A friend came over yesterday and we spent the entire day playing with techniques we had not tried before. It was a ton of laughs as we messed up, created a huge mess, and generally had a great time. Since she lives in my building we both kept bringing out more and more supplies. Eventually my dining room table looked like a scrapbook store! But it was fun to see what we could come up with.
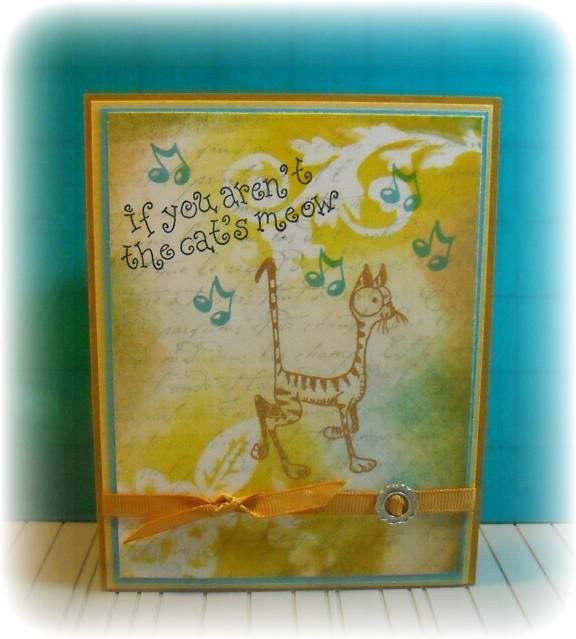
One of the techniques we tried was using Tim Holtz Distress Inks, Masks, and Perfect Pearls. I created the background of this card by stamping a script background stamp first. I cheated and used Stazon Dove Gray but I didn't want the image to smear. Next we applied masks from one of the mini-mask sets then went over the card using Distress Inks. We used Broken china, Peeled Paint, Dried Marigold, and Mustard Seed. I love how it turned out so I decided to finish it into a card.
I added the cat stamp which is an old woodmounted stamp by a company called Diamonds. I used Aged Mahogony distress ink and while it was still wet applied copper Perfect Pearls. When I brushed off the excess powder the cat has a super copper shimmer. I added the notes and the saying (which is from a TAC set) and there you have it!
This is a fun technique to try. You don't have to be precise. Just smoosh the colors onto the card and see what you get. Give it a try!
Saturday, September 5, 2009
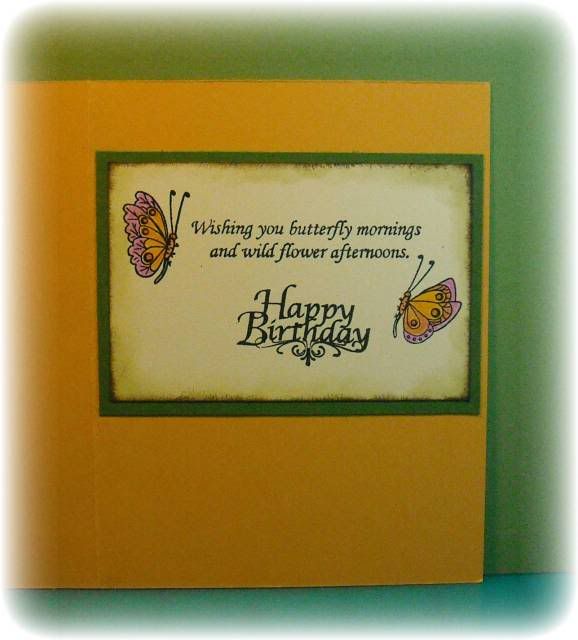
Birthday Butterfly
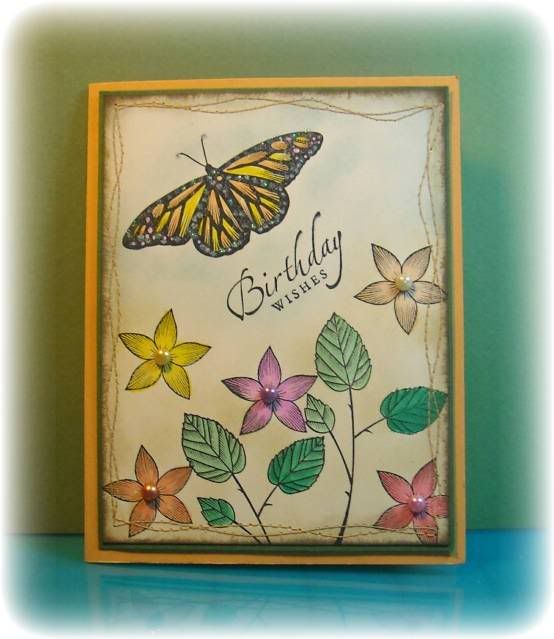
I had fun creating this birthday card. I used Stampin Up's God's Beauty stamp set. I stamped the images with Stazon Jet Black ink and used a water brush to color the images. The butterfly was colored with YoYo Yellow and Marigold Morning inks. Added pearls to the flower centers and glitter to the butterfly. I lightly inked the lower half of the card with River Rock and the upper half with Soft Sky ink.
I also dusted off my trusty ole sewing machine and added stiching to the edges.
Here is the inside:
Thanks for looking.
Wednesday, September 2, 2009
Under The Weather
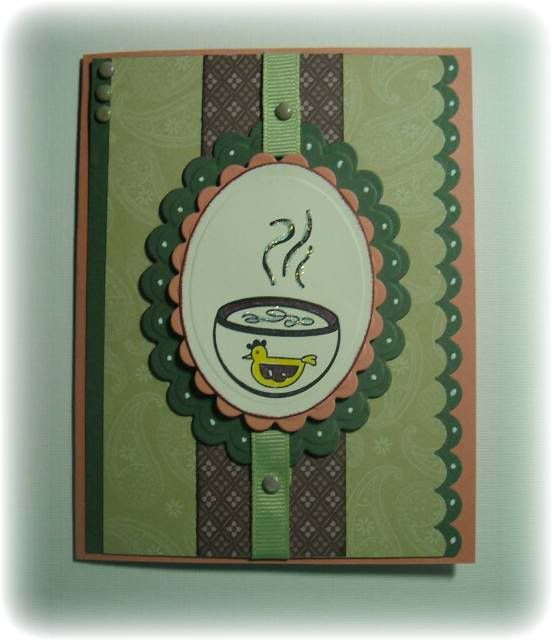
A freind is in the hospital and I wanted to take her a fun card to cheer her up. This stamp set from Stampin' Up is so cute.
I did use a new technique on this one. I didn't have the right color of brads so I used silver ones and inked the tops with pigment ink and covered with clear embossing powder. Then used a heat gun to set it. This is a good technique to know since there are so many color variations of cardstock and you never seem to have matching brads.
The card is made using groovy guava cardstock and Stampin' Up Designer paper. The dark green cardstock is from Prism.
I used Stampin' Up's scallop border punch for the edges and a white gel pen for the dots.
The inside says... "Sorry to hear you're under the weather, hope tomorrow you are feeling much better".
Subscribe to:
Posts (Atom)