Sunday, April 11, 2010

Playing with my Cuddlebug - Mother's Day Card

Do you get in a rut?  I sure do so I was looking at my dusty Cuddlebug and realized how lonely the poor bug was.  I pulled it off the shelf, dusted him off and put the little darlin' to work!

Photobucket

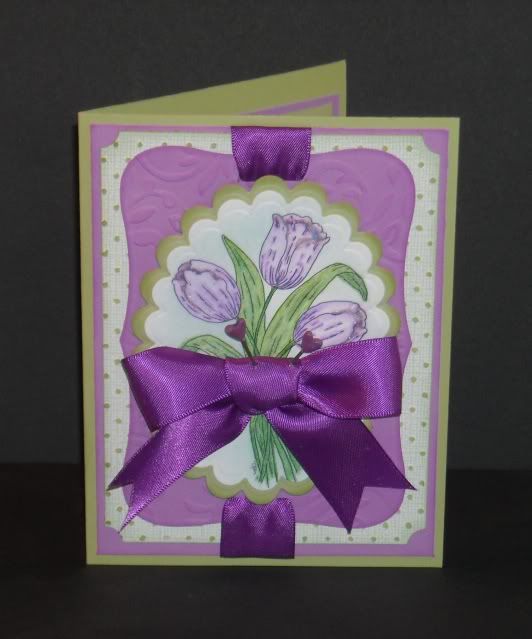
To begin this card I had colored my image with Primacolor Pencils.  I used a Classic Scallop Small Oval Nestability to cut it out and emboss the edge.  I figured out that Stampin Up's Certainly Celery color matched the leaves and Orchid Opulance matched the purples.  So I cut a layering oval out of the Certainly Celery and a used one of the Label Eight shapes to cut out the purple shape. I embossed the purple layer using a Cuddlebug embossing folder.  I inked all the edges using matching inks and gently rubbed over the embossing with a sponge dauber and Orchid ink.

Another stash find was my pack of Core'dinations Whitewash cardstock. (Forgot I had this!)  I cut a mat and embossed it with the swiss dots folder.  After I sanded the top the green dots came to life.  By now my Cuddlebug needed a nap!

I put the card together and wanted to add the heart pins but they were in a really gross orange color.  I had found them at a garage sale last summer for $.25 and at the time thought I'd find some use for them.  I   stared at these gross looking hearts for the longest time and finally remembered a tip my friend told me about. 

I dug out a violet pigment ink that was sitting in a drawer.  Then I inked the heart end of the pin with the violet ink and quickly dipped it into clear embossing powder.  Carefully using my heat gun I set the embossing powder and TADA... Violet heart pins! 

So keep digging through your stash and use up what you have!  Reduce, Reuse, Recycle.

Core'dinations Whitewash Cardstock Assortment, 12-Inch by 12-Inch, 20/Pkg

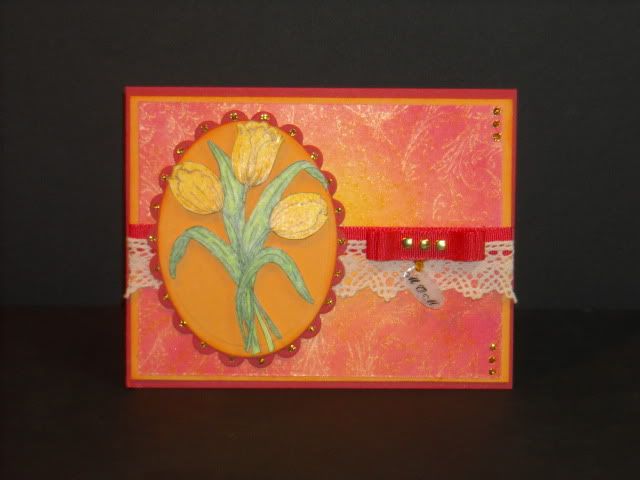
Perfect Pearls Mother's Day Card

In these tough economic times I have challenged myself to use things from my stash.  I was rearranging some of my inks and embossing powders and came across 2 pots of Ranger's Perfect Pearls that I had purchased last year.  I'm also on a mission to make my own background patterns instead of buying patterened paper.

Photobucket

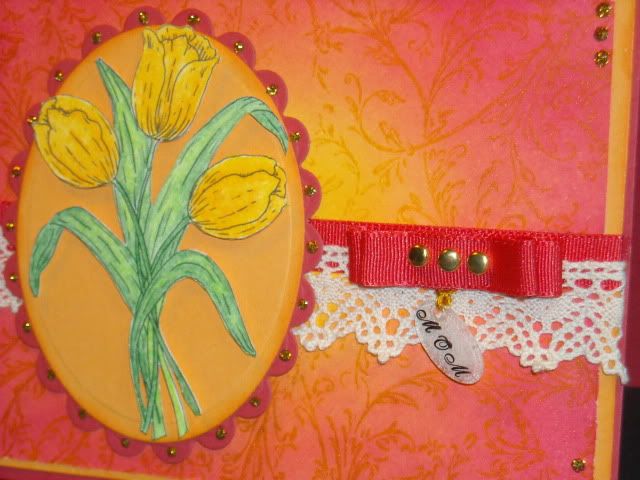
To Create the background for this card I started with a 4" x 5.25" piece of Stampin Up Whisper White Cardstock.  I inked the cardstock starting with YoYo Yellow in the center, gradually blended in Marigold Morning and finished the edges with Rose Red.  After this dried I used a background stamp that I inked up with Destress Ink in Mustard Seed.  Destress Ink stays wet longer than dye inks and works great for applying Perfect Pearls.  I chose the Mustard Seed color so that it would be very subtle. 

While the ink is wet use a small paint brush and dip the tip in the pot of Perfect Pearls (I used Copper) and brush over the sections you want to highlight.  When you are finished adding the Perfect Pearls use a larger paint brush and brush over the entire image removing the excess.  What you have left is a shimmery pattern. Click on the top picture for a larger view.  It shows the pretty shimmer. 

Photobucket

I finished the card using a digi image that was colored with Prismacolor Pencils and cut out.  I also created a tiny Mom charm using Shrinky Dinks.  Hope you try using Perfect Pearls soon.  You will be amazed at how cool the finished image is. 

Here is a link to Ranger Perfect Pearls Embellishment Pigment Kit, Metallics so you can see all the cool colors it comes in.   Enjoy!

Thursday, April 8, 2010

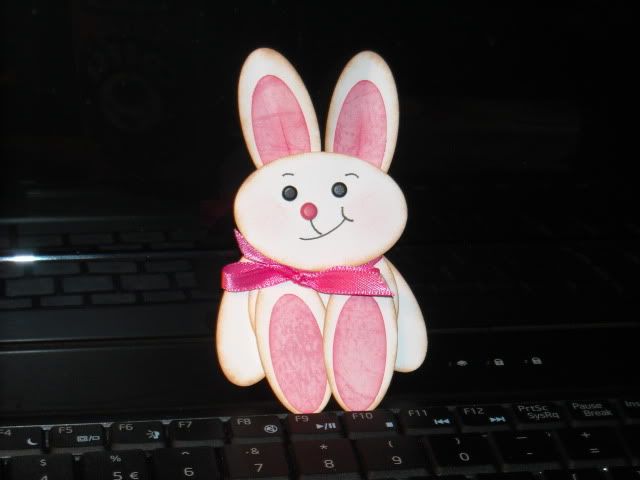
Punch Art Bunny Instructions

I promised you the instructions for creating the Punch Art Bunny.  I finally finished it so here is a link that will allow you to save, print, and view them.  Have fun and let me know if you find this useful.

Punch Art Bunny Tutorial


If you need Oval Punches here are 2 of them made by EK Success (the company that makes Stampin UP's punches)  The links will take you to Amazon.com:
Ek Success PSPNPOV003 2-Inch Paper Shapers Oval Nesting Punch
Ek Success PSPNPOV004 1-1/2-Inch Paper Shapers Oval Nesting Punch

Jet Max Cubes

Photobucket

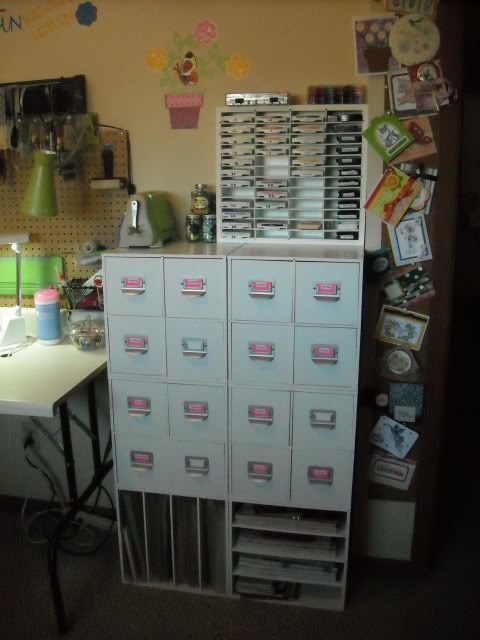
Bindi from Australia asked me for information on some of my storage cubes.  I thought I'd share this information in a post for other people that were looking for the same info.

My 4 drawer Jet Max cubes were purchased at Michael's.  They are still available (I checked yesterday).  The overall demensions of 1 cube is 14.5" deep by 14.25" high by 14.25" wide.  These are the outside demensions.  They are made with a 1/4" thick board.

The individual drawers are 6.25" wide by 14.25" deep by 6.5" high.

The paper cubes have 4 sections.  The overall outside demensions of the cube is the same as the 4 drawer cube.  The individual sections are 3.25" wide. 

Photobucket

Lastly she asked about my ink storage.  I purchased the 48 Ink Organizer from Organizemore.com.  I have had the organizer for 2 years and have been totally pleased with it.  At one time I had the organizer hanging on the wall but right now it sits on a table next to my work area.  The quality and durability is fantastic.  They also come with different colored dividers for those of you that want to coordinate with your room.  I plan to purchase another one very soon.  Check out their web site and send them an email to see how much shipping might be to your country.  I love their product and didn't think it was right to give out the details.

Hope this answers all the questions you have.  If not.... just let me know.  Happy organizing!

Sunday, April 4, 2010

Punch Bunny Cards

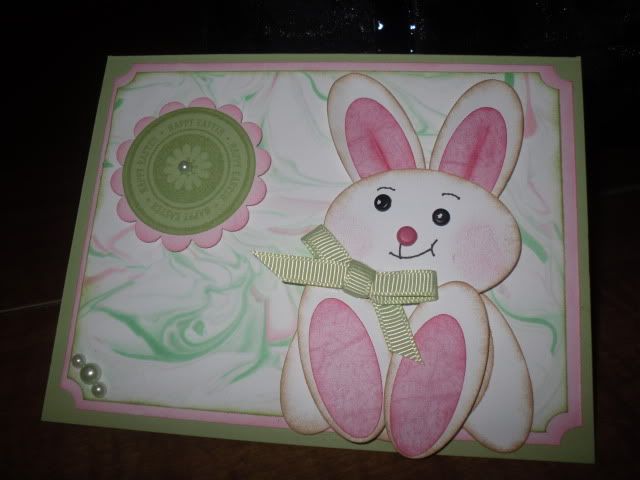
I stumbled across a tutorial for creating a rabbit from punched shapes.  Since I didn't have all the punches they used I modified it using what I have.  I thought this little guy was so adorable that I ended up making 3 cards with him. 

Photobucket

I'm creating a tutorial of my own and will post the instructions soon.

Here is the first card.  (Excuse the photos, my camera is giving me trouble)

Photobucket

I created a shaving cream background to go with the green that I wanted to use.  My friend's favorite color is green so this turned out perfect.  UPDATED PIC!  My friend took a good photo of the card.  Much better! 

Photobucket

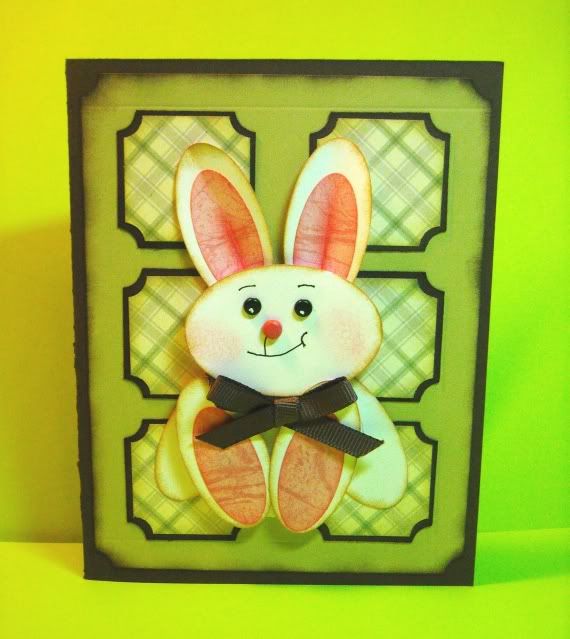
I made this card for my neighbor.  He is an older gent and doesn't get out much.  I thought a cute little bunny might brighten up his day.  It's not really as green as the picture shows.

Photobucket

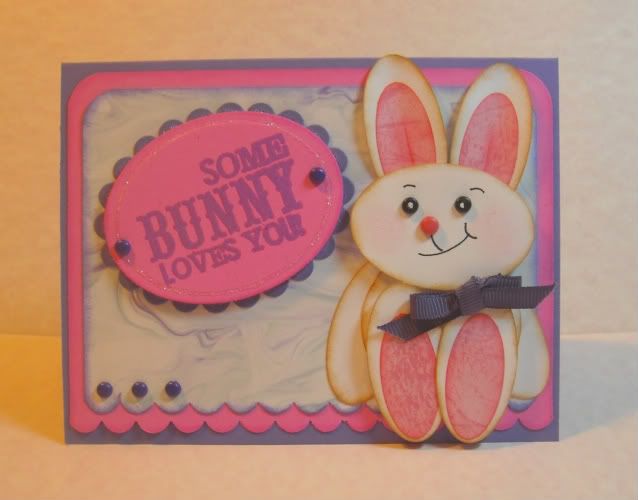
This last card is for my Grandaughter.  I love pink & purple together.  Try creating one of the cuties yourself.  They are easy and fun.    Happy Easter!