Saturday, November 22, 2008

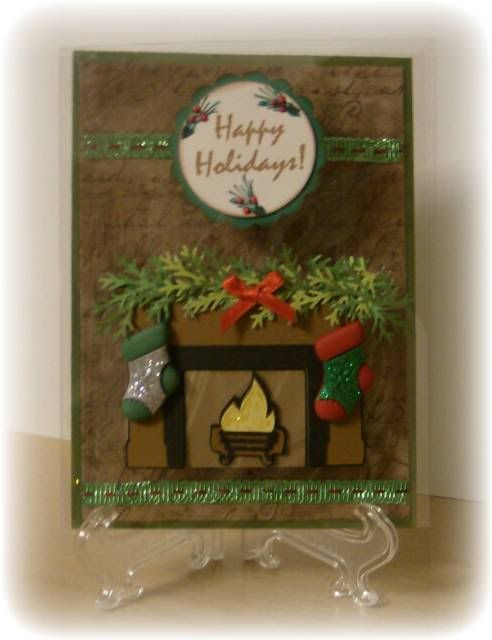
Clear Christmas Card


I used a lot of Cricut cuts on this card: George & Basic Shapes for the white circle, Mini Monograms for the scalloped circle and Joys of the Season for the fireplace and fire. The greenery on top of the fireplace was done with the Martha Stewart Leafy Branch punch. The stockings are buttons. The "Happy Holidays" was stamped using saddle brown Stazon ink. It has a goldish color to it. For the pine branches I colored my stamp with watercolor markers and then added dots of red Liquid Pearls.

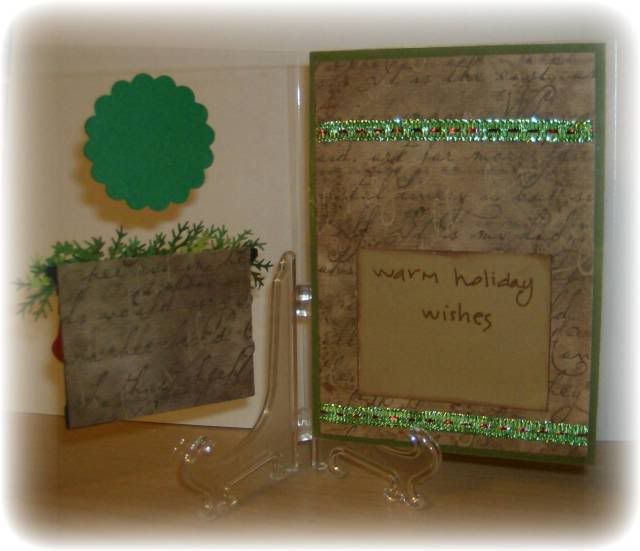
Here are a few tricks for creating a clear card. Design your card front but don't glue anything together yet. Then determine how you want the inside to look keeping in mind that it will show through. You always want to have a way to hide your adhesive. On the Happy Holidays circle I used glue dots to attach the white circle to the card front. Then glued the scalloped circle on the inside of the card front. See the picture below? After I glued the fireplace to the card front I cut a matching piece of paper that was the same size and used glue dots to adhere it to the inside of the card front to hide the back of the fireplace. I found the easiest way to make sure you position your pieces correctly on the inside of the card front is to hold them in place and use a small piece of painters tape. Just put a small piece so that you create a sort of hinge. You can then flip the piece over to put your glue dots on and flip it back into place. The painters tape comes off without tearing your paper or leaving any marks on the card.

To make the inside of the card I used my ATG to adhere the green cardstock to the back side of the card, keeping the tape 1/4" inside the edges. Then I glued the patterned paper to the inside of the card, centering it over the green cardstock. Now the adhesive from the patterned paper isn't visible when you look at the back of the card.

The "Warm holiday wishes" sentiment paper was cut the same size as the fireplace so when the card is closed you don't see it. Last I added the ribbon to the inside of the card . I hope this helps explain the process.
Tuesday, November 18, 2008

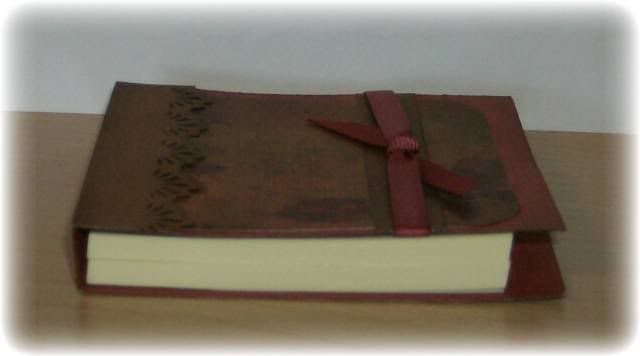
Post It Note Pad Holder


I'm making small baskets of goodies for my family this year for Christmas. As I get each one finished I'll post the instructions. The first item I'm putting in the basket is a simple Post It Note Pad Holder.

The supplies needed are:
Heavy weight double sided paper: I used Beary Patch-Romantiques-Autumn Forest double sided paper and DCWV Fall Stack cardstock. I used both sides of the Autumn Forest paper (the floral side for the center square, and the solid side for the scalloped border and small strip under the ribbon.)

The ribbon is from Stampin’ Up.

I got my post it note pads at the dollar store. They seem to be thinner than others (not as many sheets per pad) so I used double sided tape and stacked 2 pads together in each holder.


I created a file for you to download with the complete instructions. Click Here to open the .pdf file. You can save it to your computer and print it out. (You will need Adobe Reader to view and print.)

Stay tuned for my next adventure: Peppermint Patties Sandwiches!

Friday, November 14, 2008

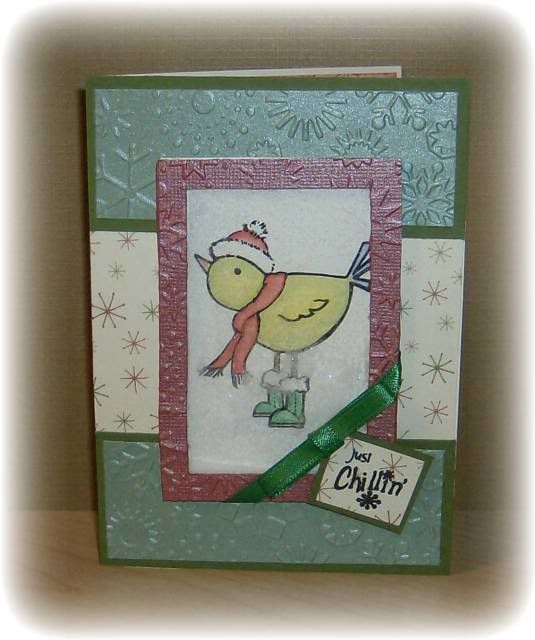
Snowy Shaker Card


I made this snowy shaker card using the instructions from Belinda on the Cricut message board. This is a fun card to make! Thanks Belinda for the easy to follow directions! The top and bottom borders are pearlescent cardstock I found at Walmart embossed in the Cuddlebug with the snowflake embossing folder. I also embossed the frame around the picture. The little bird stamp and sentiment is from See D's. Coloring was done using MCPT. The "snow" inside the shaker is glitter. On the inside it reads "warm holiday wishes... Bundle Up!"

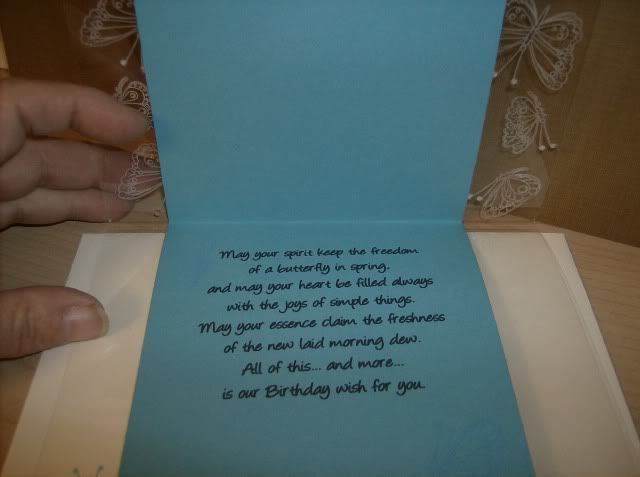
Clear Card - What a Challenge!


I wanted to try making a clear card. I have seen some beautiful cards made using the clear acetate blanks. This will challenge you for sure! There are tricks for hiding your adhesive. The first card I made ended up in the trash bin! I went back to the internet and spent several days reading all the tips and tricks I could find. This isn't the fanciest card around, but I love the stamped image and wanted it to be the highlight of the card.
The white butterflies were stamped using White Stazon ink. I originally started with Black Stazon and let me just say that stuff is slicker than ice when it comes to stamping on the acetate. What a challenge trying not to smear! After several attemps I gave up and switched to the white. It has a sticky property to it, similiar to VersaMark ink. This made stamping on the acetate very easy!
The image was stamped with Black Stazon ink onto Stampin' Up Whisper White cardstock. The coloring uses Prismacolor pencils and the MCPT. A dusting of stickles was added to the flowers and tiny rhinestones were placed on each butterfly.

Saturday, November 1, 2008

My craft room

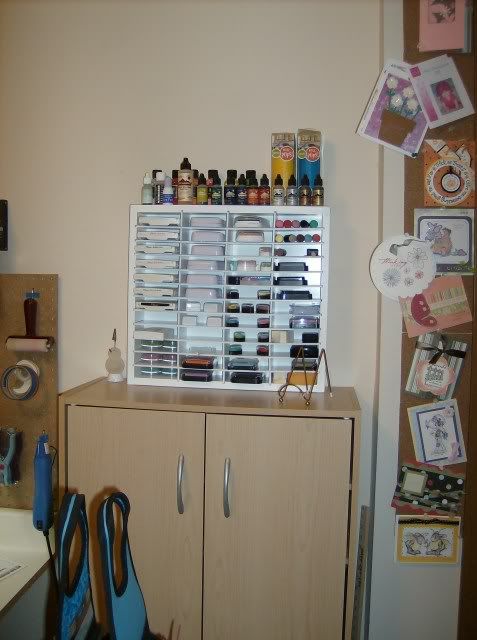
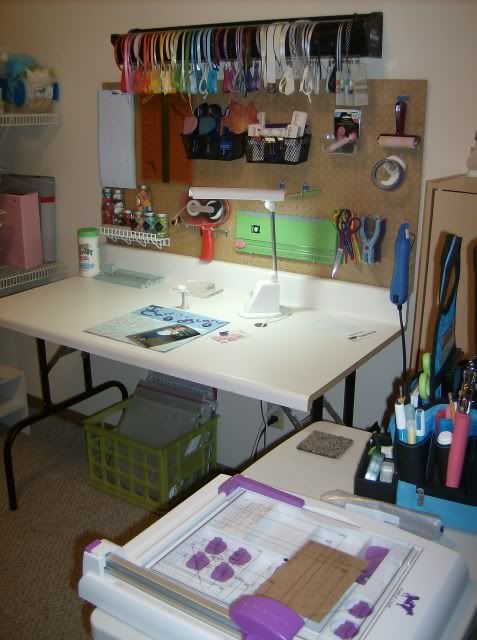
I spent all day today cleaning and rearranging my craft room. It all started because I purchased the Clip It Up Ribbon organizer. I must say this is an awesome organization tool! I now know exactly what ribbon I have and can get to it so easily. Since everything is nice and neat I thought I'd post a couple of pics. I use one half of the room for scrapbooking and cardmaking and the other half of the room is for my computer.

I have corkboard squares lining the doorway so that I can hang up the cards that I receive from others. I love looking at them. I have an organizer for my stamp pads that I bought from an ebay seller. I keep my wood mounted stamps in the cabinet. I found the cabinet at Good Will. It was brand new, still in the box!


Here is my work table. It's really just an old counter top. I picked up a set of banquet table legs at Home Depot and screwed them to the bottom of the counter top. I love my peg board and decided to put the ribbon organizer right above it. I knew I had a lot of ribbon but didn't realize how much until I started organizing it. It is nice to have all the colors together. I also have a small table that I found at Big Lots. I keep it right next to me to hold my Purple Cow cutter and my swivel tote. It also is a good place to set my soda in case I spill.
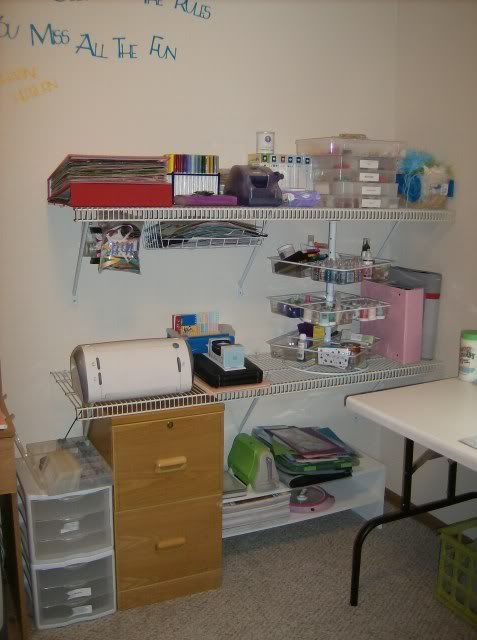
And lastly are my shelves. I'm sure you think they are goofy heights, but since I am "vertically challenged" LOL I wanted them low enough so that I could actually reach them! I really love the craft spinner that I got from Walmart (on-line only). I am able to keep so much in such a small space! I keep my blank cards and envelopes in the top drawer of the file cabinet and my DCWV mat stacks are in the bottom drawer.
So that's it! At least it's clean (until I start another project!)