Showing posts with label Christmas. Show all posts
Sunday, December 28, 2008
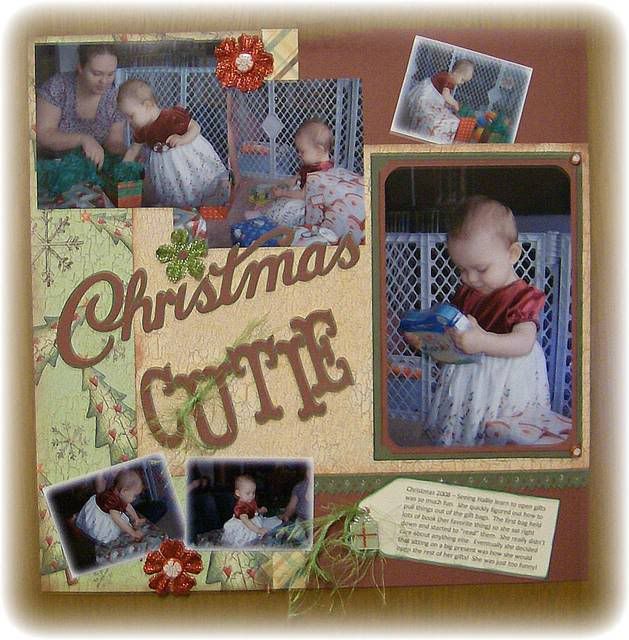
Christmas Cutie - Sketch Challenge

Thanks to Okieladybug on the cricut message board for creating this challenge. Here is the layout sketch she challenged us to do. Since my photos were different sizes I had to use some creative license with the layout, but overall It is very close.
I added a small strip of the dark green which I punched with MS Diamond Border punch along the bottom of the white paper and a plaid border sticker along the edge of the tree paper. The brads (on the picture corners and flower centers) are by Bo Bunny. The flowers are Prima Fabric Fancies. I used a Stampin' Up Ticket punch on the corners of the photo mat. The "Christmas" was cut with the Christmas/Noel Cricut Cartridge. "Cutie" was welded in Design Studio using Storybook font. I hand cut the tag after printing the computer generated journaling onto cream colored cardstock. A present charm and fiber was added for texture to the tag.
Thursday, December 25, 2008
Merry Christmas Everyone!

I hope you all have a very blessed Christmas! I spent Christmas Eve with my Son, DIL & DGG. It was a wonderful time. I get such great joy from spending time with them, especially my Granddaughter. Watching her change and grow and explore and learn these past 14 months has brought new meaning to my life. I never knew how wonderful having a grandchild could be. It is an entirely different love than what you have for your children or spouse. I wanted to share this picture of her. Her angelic face just melts my heart! I can't wait to scrap this one. Merry Christmas to all!

Sunday, December 7, 2008
Christmas Gift Tags


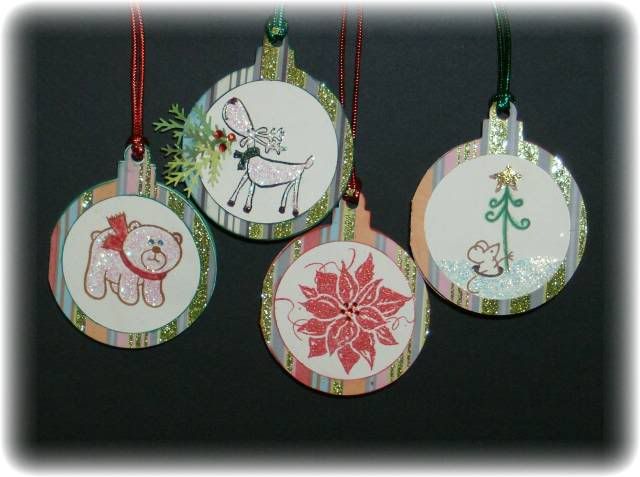
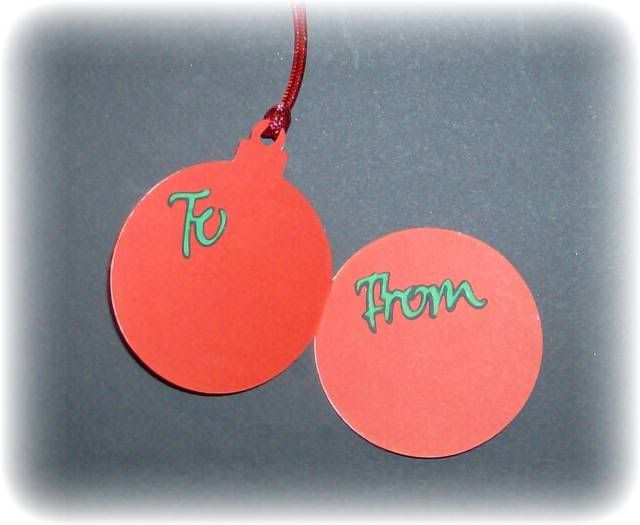
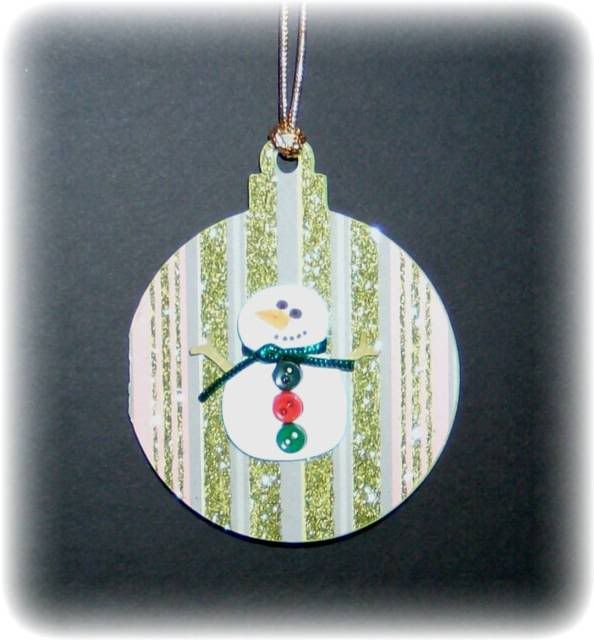
I decided to take a break from the CD Calendars and start on some gift tags. This is a sample of the ones I have made so far. I found this glitter paper at Archivers and thought it would be perfect for the tags. The ornament was cut from the JOTS cart at 3". I cut the glitter paper using the layer feature and the main image I cut out of cardstock. This also gave me extra 2" circles of the glitter paper that I will save for a future project. I used George to cut 2 1/2" circles of ivory cardstock but had to trim it down just a little bit. The "To and From" are from the Calligraphy cartridge cut at 1 1/2". I also made one without the window. The Snowman was cut from Doodlecharms at 2". I stamped, embossed, colored, and stickled the images on the ivory cardstock then layered the ornament together. I'll enjoy adding these to the gifts I have for my family.
Labels:
Calligraphy,
Christmas,
George,
Joys of the Season
Saturday, November 22, 2008
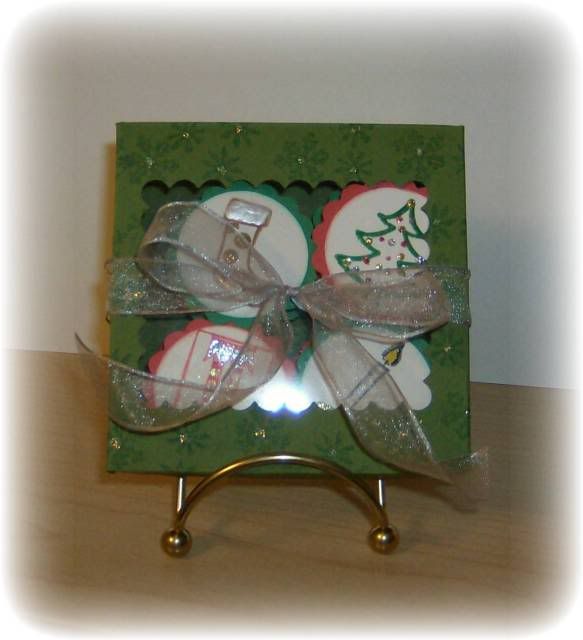
Peppermint Patties in a Pizza Box
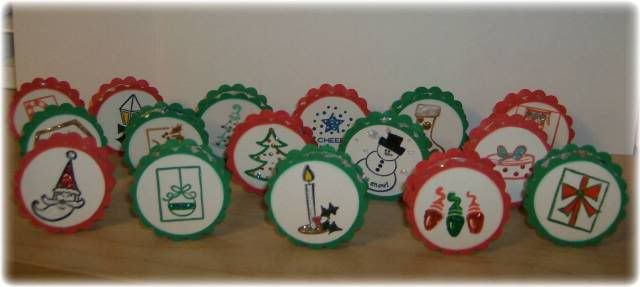
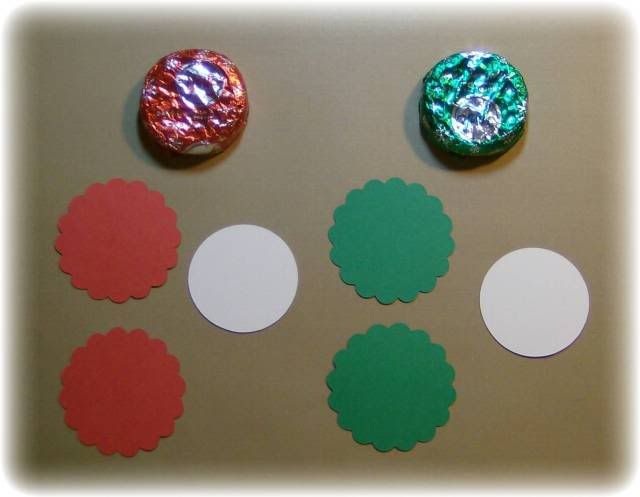
This is just a sample of the 30 Peppermint Pattie "sandwiches" I made. If you ever wondered when you would use all those Studio G stamps you have been collecting....well now is the time. They are the perfect size stamp for these little gems!These are super easy to make. Simply cut 2 scalloped circles that are slightly larger than the Peppermint Pattie. Cut a plain circle slightly smaller than the scalloped circle. Stamp or embellish the white circle any way you want. Then glue one scalloped circle to the back of the pattie. Glue the white circle to the other scalloped circle and stick that on the front of the pattie!
Since I was making 30 of them I used Design Studio and created an entire mat of scallopes using Mini Monograms and another mat of plain circles using George & Basic Shapes. Then it was easy to load my cardstock in the Cricut and hit cut. I could walk away and do other things while it cut.

I decided to put the decorated patties into mini pizza boxes. I got the instructions from Splitcoast Stampers website, but I wanted a window in the box to show off the cute designs. After I had the boxes cut out, but before I put them together, I used a rectangle nestability to cut out a window using my cuddlebug. I save all my acrylic packaging so I had plenty on hand to cut and glue to the inside of the window. Here are 2 of the boxes I created. The first one is a simple cardstock box that I stamped with a snowflake image in a matching color and put stickles in the center of the snowflake. A simple bow around the box and it's ready to go.

This box was made using a heavy weight patterned paper. I didn't do anything else to the box except add the bow.
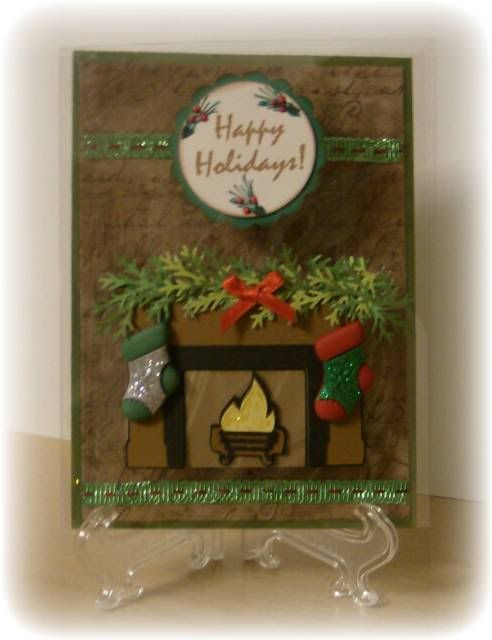
Clear Christmas Card

I used a lot of Cricut cuts on this card: George & Basic Shapes for the white circle, Mini Monograms for the scalloped circle and Joys of the Season for the fireplace and fire. The greenery on top of the fireplace was done with the Martha Stewart Leafy Branch punch. The stockings are buttons. The "Happy Holidays" was stamped using saddle brown Stazon ink. It has a goldish color to it. For the pine branches I colored my stamp with watercolor markers and then added dots of red Liquid Pearls.
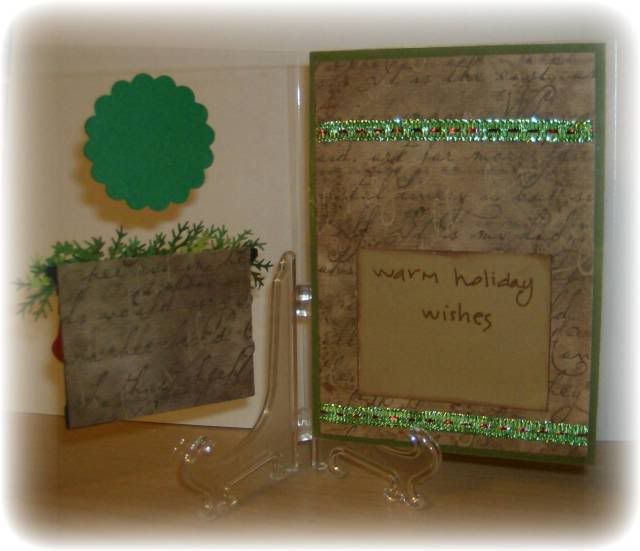
Here are a few tricks for creating a clear card. Design your card front but don't glue anything together yet. Then determine how you want the inside to look keeping in mind that it will show through. You always want to have a way to hide your adhesive. On the Happy Holidays circle I used glue dots to attach the white circle to the card front. Then glued the scalloped circle on the inside of the card front. See the picture below? After I glued the fireplace to the card front I cut a matching piece of paper that was the same size and used glue dots to adhere it to the inside of the card front to hide the back of the fireplace. I found the easiest way to make sure you position your pieces correctly on the inside of the card front is to hold them in place and use a small piece of painters tape. Just put a small piece so that you create a sort of hinge. You can then flip the piece over to put your glue dots on and flip it back into place. The painters tape comes off without tearing your paper or leaving any marks on the card.
To make the inside of the card I used my ATG to adhere the green cardstock to the back side of the card, keeping the tape 1/4" inside the edges. Then I glued the patterned paper to the inside of the card, centering it over the green cardstock. Now the adhesive from the patterned paper isn't visible when you look at the back of the card.
The "Warm holiday wishes" sentiment paper was cut the same size as the fireplace so when the card is closed you don't see it. Last I added the ribbon to the inside of the card . I hope this helps explain the process.
Friday, November 14, 2008
Snowy Shaker Card

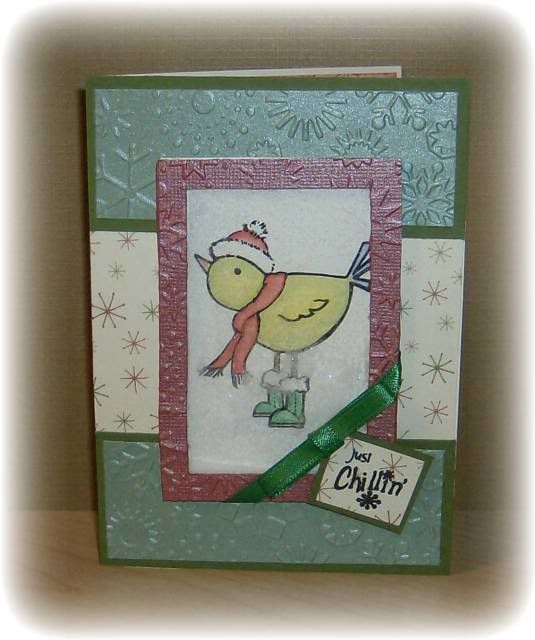
I made this snowy shaker card using the instructions from Belinda on the Cricut message board. This is a fun card to make! Thanks Belinda for the easy to follow directions! The top and bottom borders are pearlescent cardstock I found at Walmart embossed in the Cuddlebug with the snowflake embossing folder. I also embossed the frame around the picture. The little bird stamp and sentiment is from See D's. Coloring was done using MCPT. The "snow" inside the shaker is glitter. On the inside it reads "warm holiday wishes... Bundle Up!"
Sunday, September 14, 2008
Christmas Fishes
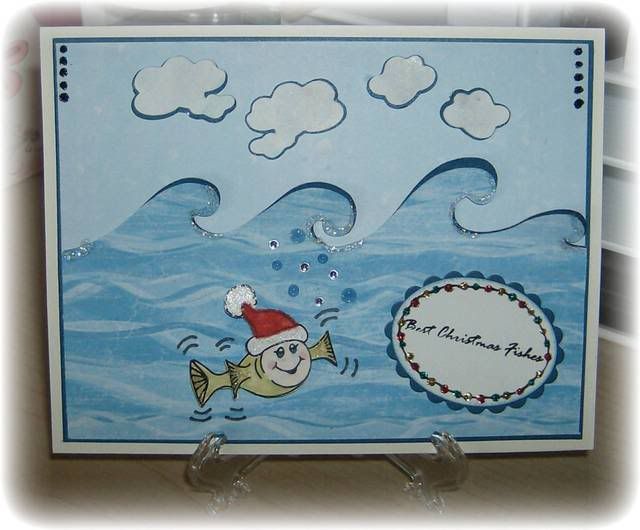
This is a silly Christmas Card! Used ZooBalloo cartridge and Design Studio to cut the waves. I welded a rectangle to the bottom of the waves to get the piece to cut out as one solid water piece. The clouds were cut at 1 1/2" and inked with cyan & silver Colorbox pigment inks.The fish is a clear stamp from Cornish Heritage Farms. I stamped him twice. Cut out the red portion of the hat on one and the entire fish on the other. Ran the hat piece upside down through my Xyron and adheared red flock. Colored the fish using PrismaColor pencils. Stickles were added to just the fins to give Mr. Fish some sparkle. I used lots of Stickles on this one. The ovals were cut with nestabilities. Then I poked holes around the edge of the white oval and connected the holes with a black pen. Using alternate stickles of red, green & goldenrod I dotted each hole so that it looks like a string of Christmas lights. You can't tell in the picture but I pop dotted the fish onto the paper. I also used pop dots under the tips of the waves to raise them up and give them some depth. A snow writer was used to add the sparkle to each wave. (Boy that stuff takes a long time to dry, but worth the wait!) The bubbles are self-sticking acrylic dots made by Fiskars. Saturday, September 13, 2008
Peace Christmas Card
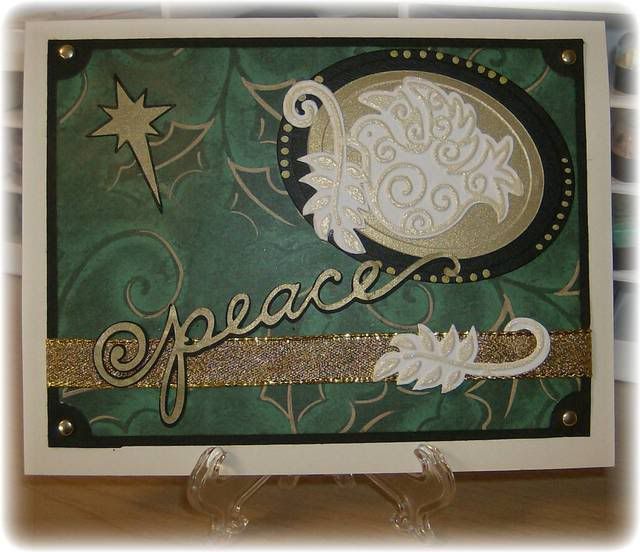
I challenged myself to use only my cricut and cuddlebug to make a card. I seem to have gotten into the habit of using stamps exclusively. So I thought it was about time I dusted off the 2 bugs and got to work. I used Joys of the Season for the word peace and the star. This is gold velum cut at 1 1/2". I wanted to use my new cuddlebug dove and branch die and embossing folder. I die cut the dove and branch out of white cardstock then embossed with the folder. I inked up my brayer with VersaMark ink and gently rolled over the top of both pieces. Enchanted Gold embossing powder (by Ranger) was sprinkled over the VersaMark and then heat set. I love the shimmer of this embossing powder! The oval circles were cut using Nestabilities. Finally a few doodle dots using a gold marker to finish it off.I'm trying not to put too many 3-D embellishments on my cards since the post office has a hard time with a card that isn't flat. With the heavy load of mail that goes through at Christmas time I figured I'd rather be safe than sorry!
Sunday, September 7, 2008
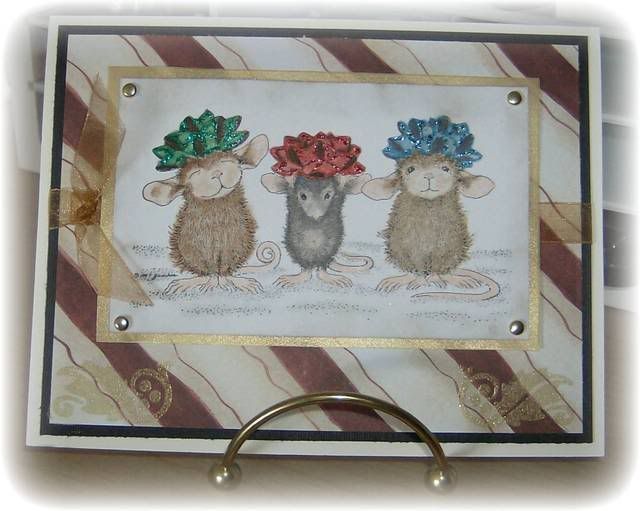
House Mouse "Having a Ball" Christmas Card

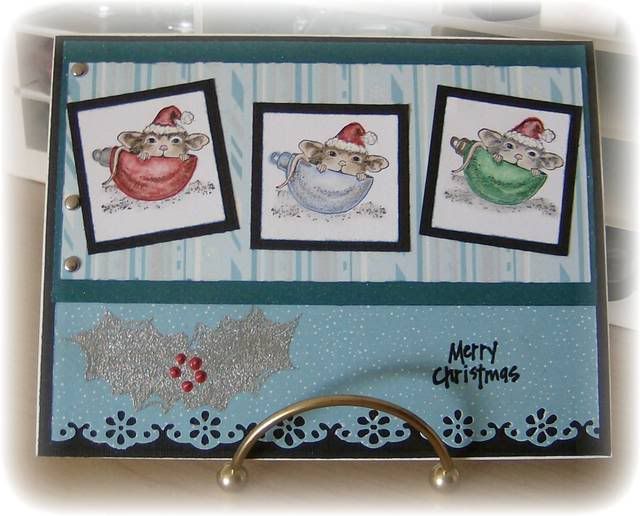
How can anyone resist this little cutie? I thought he looked lonley all by himself so I added 2 of his friends to keep him company. Of course I colored them with Prismacolors and blended the colors with unscented mineral spirits. The striped paper is from DCWV's Winter Glitter Mat Stack and the "snow" paper is Heidi Grace. I used Martha Stewart's Lace border punch to soften the lower edge. The Holly Leaves are a clear acrylic stamp from a set by PrintWorks called Celebrate Christmas. I stamped the leaf twice with VersaMark Watermark ink and embossed with "Silver Tinsel" embossing powder by Stampendous. I added Red liquid pearl dots for the holly berries. The "Merry Christmas" was also stamped with VersaMark and embossed with black embossing powder.
House Mouse "Wrapped & Ready" Christmas Card

These cute little guys made me smile the entire time I was creating this card!
The image is stamped with Stampin' Up's Basic Black and colored with the magic gamsol technique. I added stickles to parts of the bows and inked the edges with gold pigment ink.
The paper is Paper Studio from Hobby Lobby. Gold vellum was used to mat the House Mouse image.
The holly leaves were stamped with VersaMark Watermark then embossed using Ancient Gold "Enchanted Gold" embossing powder by Ranger. The holly leaf stamps are from Peach Keen Stamps. I like them because the set came with a "left" and a "right" stamp.
The image is stamped with Stampin' Up's Basic Black and colored with the magic gamsol technique. I added stickles to parts of the bows and inked the edges with gold pigment ink.
The paper is Paper Studio from Hobby Lobby. Gold vellum was used to mat the House Mouse image.
The holly leaves were stamped with VersaMark Watermark then embossed using Ancient Gold "Enchanted Gold" embossing powder by Ranger. The holly leaf stamps are from Peach Keen Stamps. I like them because the set came with a "left" and a "right" stamp.
Wednesday, August 27, 2008
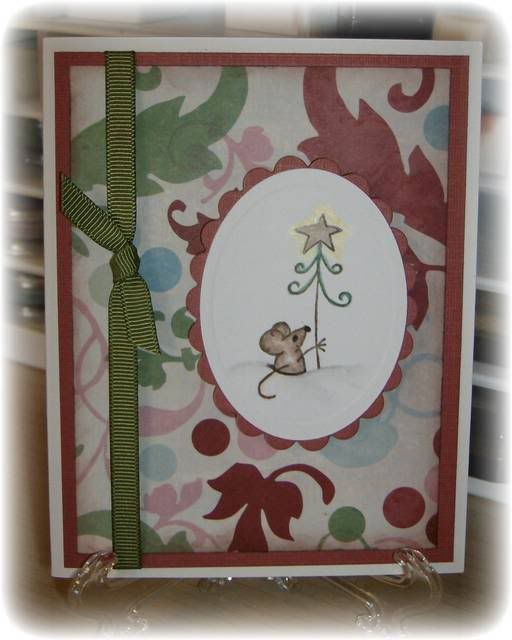
Max and His Tree
Card #2 made during my crop on Sunday...I love this simple little stamp. It is "Max Tree" by Stampendous.
Max was stamped on white cardstock that I cut into an oval using a Nestability die. I also used the scallop Nestability die to cut the scalloped oval behind him.
I used Prismacolor pencils (my favorite coloring tool) and smoothed the color with gamsol. Max was mounted using pop-dots to give the card some depth.
The DS paper was purchased at Hobby Lobby, but I can't remember who makes it. I like the swirly leafy things. They remind me of swirling snow and windy winter days.
This was a simple card, but I love how it turned out.
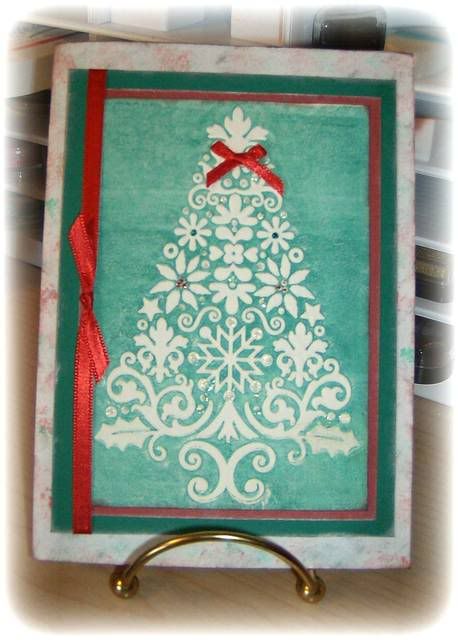
Christmas Tree w/ inked embossing folder

I spent a terrific day on Sunday at a local crop. We talked so much that I only completed 2 Christmas cards. This one is done using the Cuddlebug Lace Tree embossing folder.
I inked the debossed side of the folder with Stampin' Up's Glorious Green ink. I find it is easier to do this using a brayer. After the ink is on the folder place your white cardstock in the folder and close it. Run it through your cuddlebug machine as you would normally do.
When you remove the cardstock the embossing folder can be cleaned very easily with a baby wipe or mild soap and water.
The ink will dry almost instantly on the cardstock so you can add embellishments right away. I put small dots of Crystal stickles on parts of the tree and small dots of Christmas Red stickles in the center of the 2 flowers on the tree.
Give this technique a try. It is super easy and the results are fantastic!
Saturday, August 23, 2008
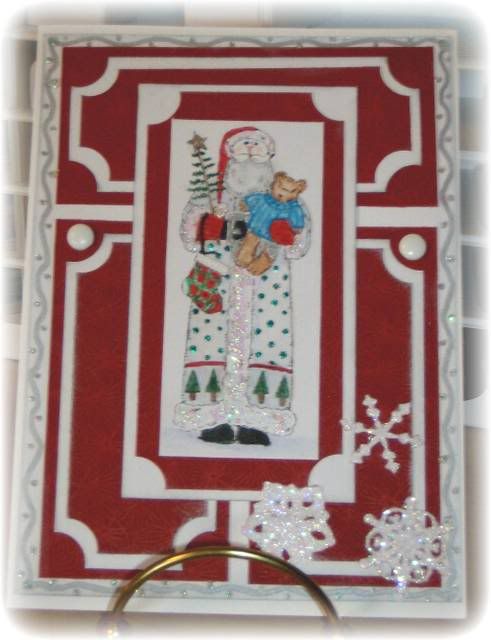
1st Christmas Card
I know it's August, but I wanted to start making Christmas Cards now. I know I take forever to get a single card finished so it was a good bet that if I started now I just might have enough finished to actually send out this year! LOL This is a terrific Santa stamp from Stampin' Up. He is part of a 1998 Set called Christmas Is Here. I colored the image with Prismacolor pencils. There are Crystal Stickles on the front of his robe and the white part of his hat. Green Stickles for the dots on his robe.
I had a heck of a time cutting the corners. I used 1/2 of a small oval punch.
The border is hand doodled and crystal stickles were used as the dots.
I also used the Joys of the Season Cricut cartridge to cut out the snowflakes. Ran them through my Xyron upside down and covered them with glitter.
I don't recommend this paper at all. There is NO adhesive that wants to stick to it, and believe me, I tried everything. Even my trusty ATG did not want to adhere to this paper!
FYI: The card is 5 x 7, DP is Paper Company "Starburst Translucent"
Subscribe to:
Posts (Atom)