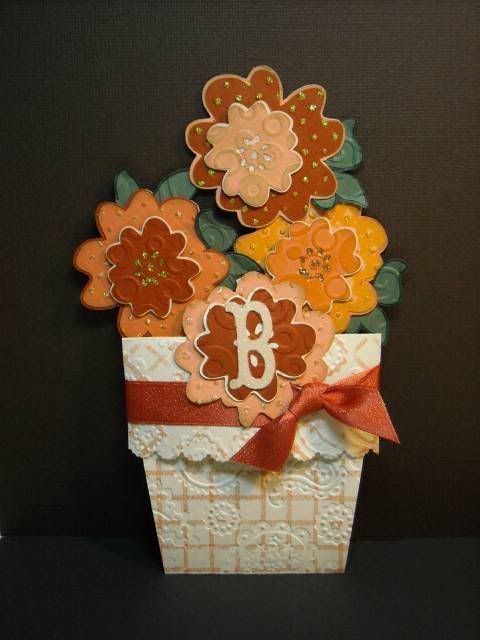
This is a Flower Pot Pocket card. I found the instructions on the Split Coast Stampers website. It is a great card to make. There is so many options for decorating it.
EDITED TO ADD LINK TO INSTRUCTIONS: http://sluman.blogs.splitcoaststampers.com/2009/01/25/flower-pot-pocket-card/
Here is the card all together:

The overall height ended up being 7", so I am able to put this in a 5 X 7 envelope.
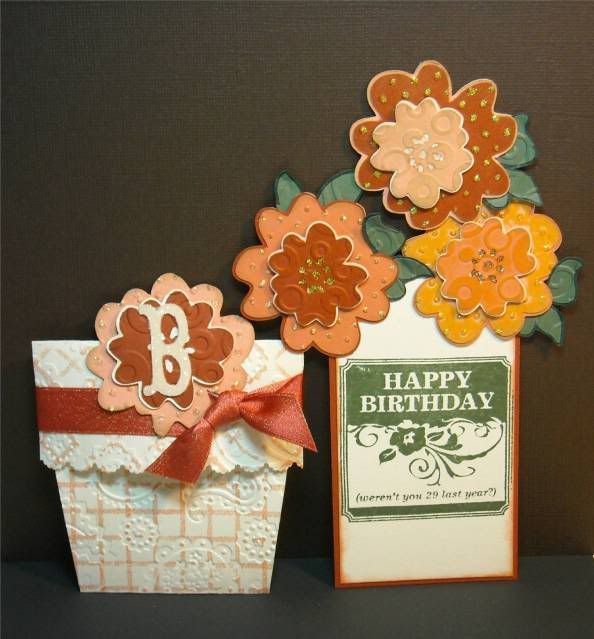
The flower pot was made from ivory cardstock cut per the instructions. I used an EK Success border punch on the front edge. Then ran it through my cuddlebug using the Perfectly Paisley embossing folder. To finish it off I stamped over the embossing with a background stamp inked with Stampin' Up's groovy guava ink. I love how this looks. The debossed areas don't catch the ink so your embossed design really stands out.
Here is a picture of the pot and pull-out card:

I used Prism cardstock in Desert Coral light, medium, & dark. The flowers were cut using the Cricut and Storybook cartridge. I cut the large flowers and shadows at 2" and the smaller flowers and shadows at 1 1/4". The large flowers were embossed with the swiss dots folder and the smaller flowers with the Spots & Dots folder. I inked all the edges with Tim Holtz Distress ink in Old Paper then added stickles on the swiss dot bumps. I also lightly inked over the embossing on the smaller flowers to accent the design.
To create the leaves I cut out the flourish (Storybook - page 56) and also the shadow. After I glued them together they were embossed with the D'vine Swirl folder. Then I cut up the florish and only used the side pieces as leaves.
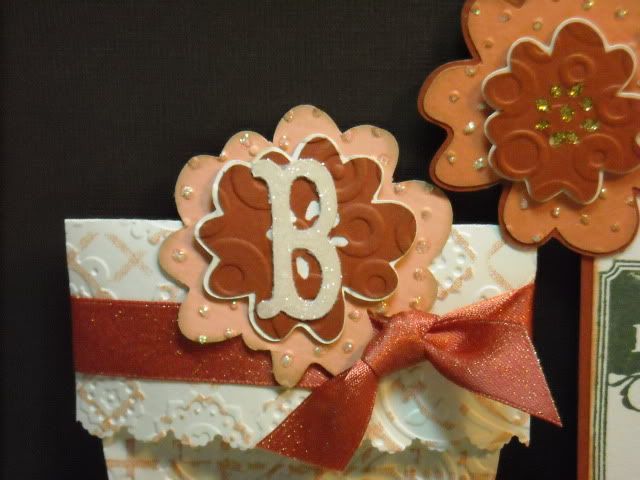
The Monogram was cut from the Storybook cartridge at 1 1/2". I ran the letter upside down through my zyron sticker maker and added glitter over the entire letter for even more bling!
Here are some close ups for you to see the detail better.


Let me know what you think. I'd love to hear your comments.
Gorgeous! Love the colors and the stamp you used for the sentiment.
ReplyDeleteI think it is totally awesome... you did a FABULOUS job on it.. loving everything about it
ReplyDeleteOMG this is soo very nice ! i love the colors
ReplyDelete**gasp** I seriously am speechless!! This cards is GORGEOUS!!! I love everything about it!!!!!! WOW
ReplyDeleteWow... I love this project. What a great idea and it's stunning.
ReplyDeleteOh, this is fantastic! It looks like lots of hard work, but it paid off...this is lovely :)
ReplyDeleteOhhh such a pretty flower pot! Love the colors and all of the different embossing folders you used.
ReplyDeletegreat card, lovely colours
ReplyDeleteThanks for playing this week
Cuttlehugs
AllisonX
Beautiful card, especially all the textures. Thanks for sharing the directions.
ReplyDelete