Wednesday, June 30, 2010

Karen's Doodles - Challenge #17

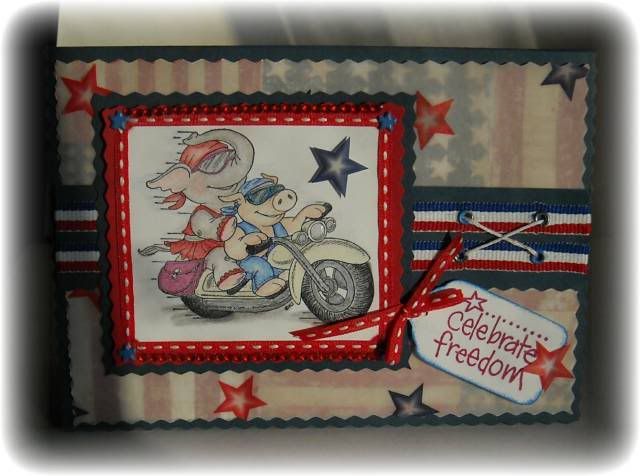
Red White & Blue is the Challenge colors at Karen's Doodles USA Challenge blog.  Click here to check it out.  This is my entry.  Cruisin' - Celebrate Freedom

Cruisin-Close Up

Card Recipe
Stamps:  Karen's Doodles Cruisin' & Studio G Celebrate Freedom
Paper:  Stampin Up Whisper White Cardstock, Paper Studio Designer Paper & The Paper Patch Red & Navy Allstars Vellum
Ink:  Stampin Up Real Red
Tools:  Crop-a-dile, Sissors, Paper Trimmer, ATG tape, Glossy Accents, Pop Dots
Embellishments:  Rhinestones, ribbon, eyelets, brads
Other:  Prismacolor Pencils, Mineral Spirits, Sakura Gelly Roll Glitter Pens

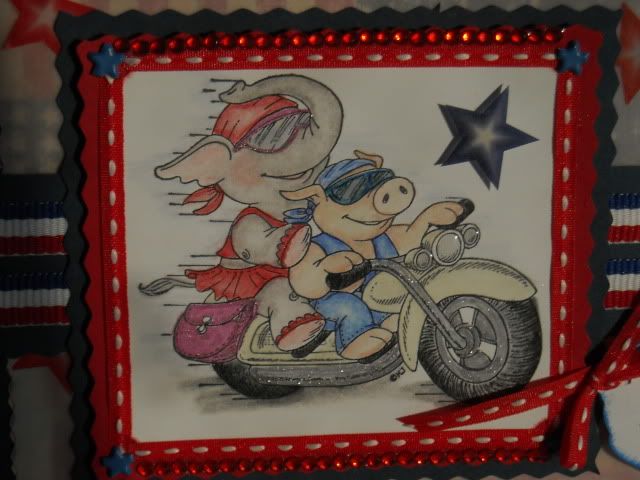
I loved the "Flag" paper but it seemed too bright so I topped it with the vellum.  The image was colored with both colored pencils and glitter pens.  Glossy accents was added to the sun glasses and headlights.  Here is a closeup.  You can click on the picture for a larger view.
Cruisin-Karen's Doodles

I love how carefree these 2 look.  Arent' they cute?
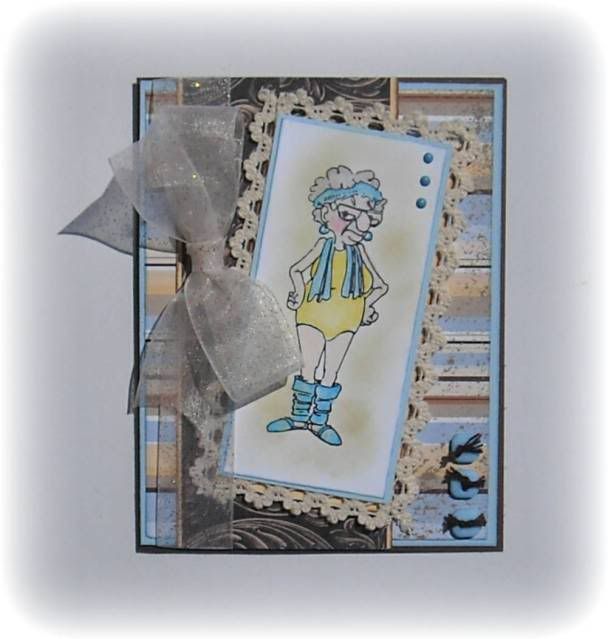
Rubbernecker's Ethel

Isn't she a pistol?  I love the expressions on these old character stamps.  I started this card at a friends house this past weekend and finally finished her at home.

Ethel

Ethel was stamped in Stazon Black and colored with Prismacolor Pencils.  After matting the image I added a lace frame.  The buttons are from Stampin Up.  All the DP is Paper Studio from Hobby Lobby.

The inside sentiment reads:  "I'm in shape. Round's a shape isn't it?"  A perfect card to give as encouragement to a friend that is trying to lose weight.

Sunday, June 27, 2010

Karen's Doodles Challenge #16

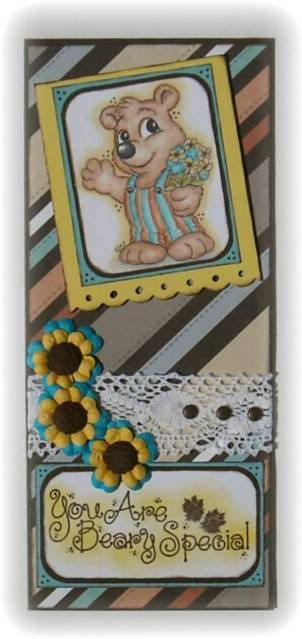
Flower Bear
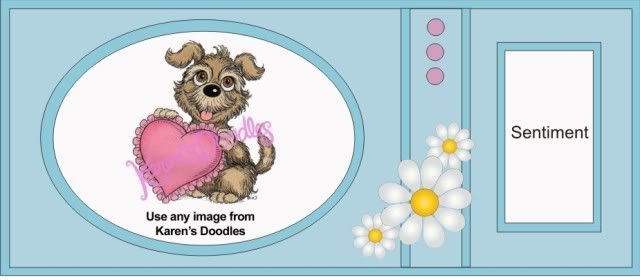
I created this card as my entry in Karen's Doodles USA Challenge #16.  We were given the following sketch to follow:

Sketch_16


The image is a digi freebe that I printed out onto SU Whisper White cardstock.  The bear was colored using Prismacolor pencils and blended with mineral spirits.  I added my own doodles to match the sentiment (which I found at an expo several years ago).  I've never done a long card before so this was a fun, out of my comfort zone, challenge.  

Saturday, June 26, 2010

I didn't win....

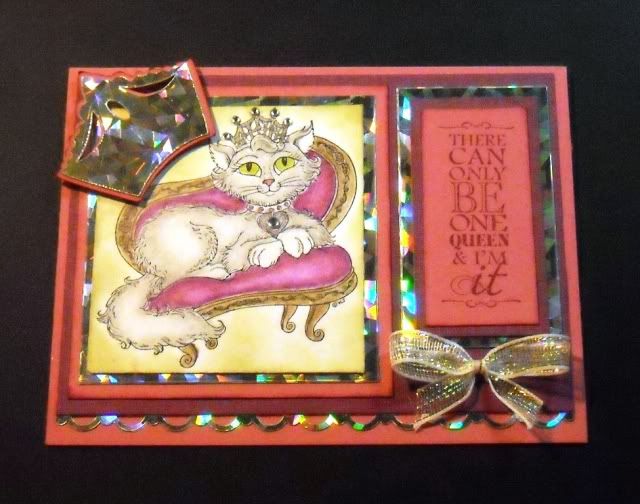
Princess Kitty

I entered this card in the "Featured Diva" contest over at Karen's Doodles.  I met Karen at the Fall 2009 Milwaukee Rubber Stamp and Scrapbook Expo.  She was just getting started and I enjoyed speaking with her.  She was demonstrating her drawings and she drew a character for me.  I also received a copy of her new children's book.  Here is a photo of Karen and my "Doodle"!

Karen


A couple of months ago I saw her again at the Spring 2010 Milwaukee Expo.  She now has a website selling her Digital Images and has recently launched a line of rubber stamps.  She told me about her website and since I picked up a couple of her stamps I thought I'd give it a try.  There are some exceptionally great card makers entering her contests.  I didn't stand a chance.  But it was fun trying. Pop over and take a look at her stamps.  They are sooooo cute!

Wednesday, June 23, 2010

Playing around with my stamps

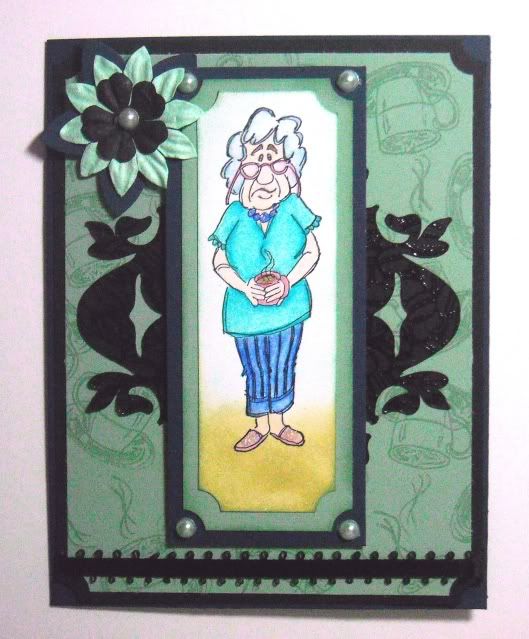
Do you find that you collect stamps and then never use them?  Well I do... so I dug through my stamps and came across this one from Rubbernecker.  I hadn't used her because I was looking for just the right saying.  I found a saying at an expo 2 months ago so I have no excuse!  This is Edna, one of the Rubbernecker "Old People" stamps.  They are so cute I wish I had them all.


Edna

I used Stampin Up cardstock in black, Night of Navy, and Sage Shadow.  Using Versamark Ink I stamped a coffee cup over and over to create a background pattern.  The black decoration is a left-over frame that I had cut from my cricut for another project.  I think it was from the Storybook cartridge.  I took a background stamp that is coffee beans and stamped with versamark over the frame then heat set clear embossing powder.

Edna was colored with Prismacolor pencils.  I added glossy accents to the lens' of her glasses and stickles on her slippers and necklace.

The inside saying says...  Behind every successful women is a substantial amount of coffee.

Tuesday, June 22, 2010

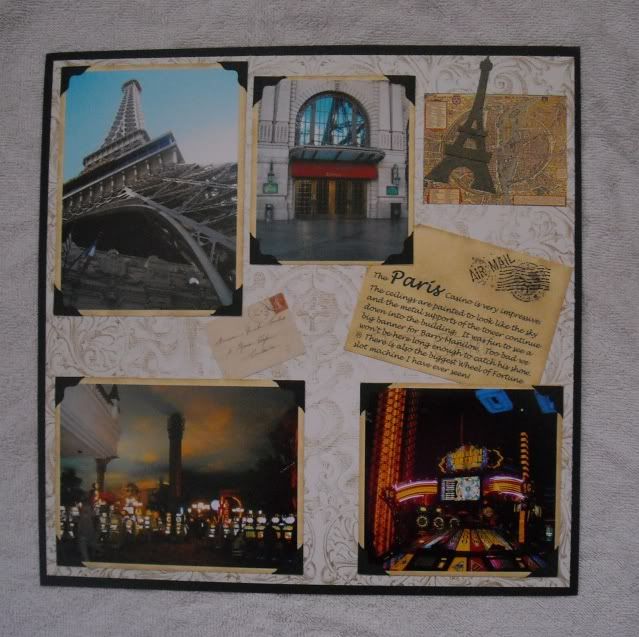
Las Vegas - Paris

The Paris Hotel and Casino was very cool.  I was impressed with the architecture of the building.  I decided to go for a layout that had the look of an old photo album.
Vegas

I created a mock postcard for the journaling on this page.  I printed my journaling from my computer onto a tan cardstock. I increased the font size for the word Paris to act as the page title.  The postcard was grunged up with Old Paper Distress Ink.  I used a Stampin Up postage stamp from an old set and smeared it a bit to give it an aged look.  Photo corners were added to all the pictures.  The corners were cut on the cricut using the Jasmine cartridge. 

Sunday, June 20, 2010

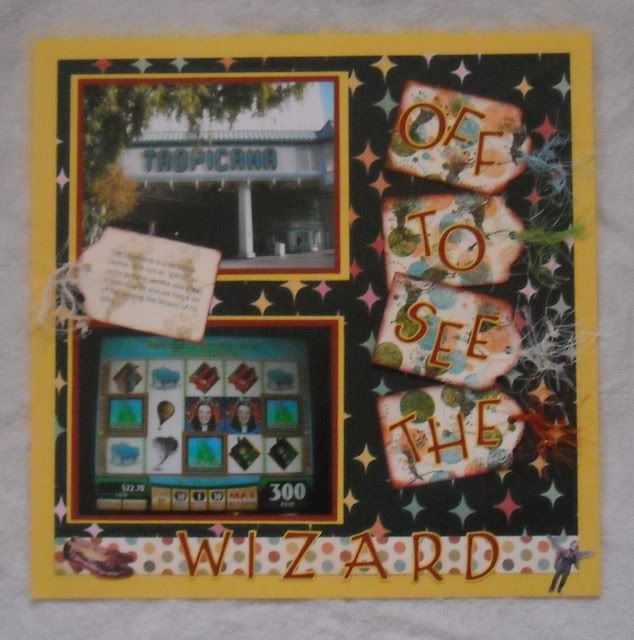
Las Vegas - The Tropicana Casino

Vegas


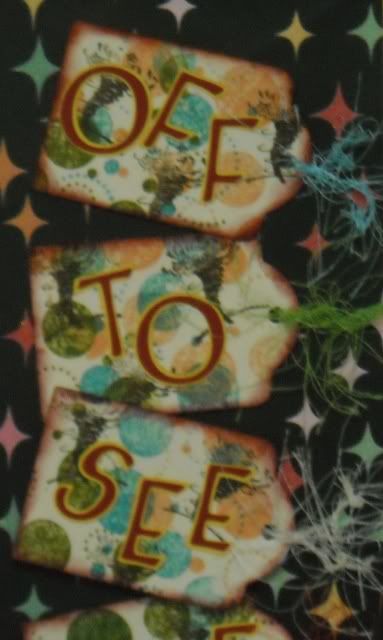
We had such fun playing the Wizard of Oz slots at the Tropicana Casino.  For this page I created tags to put the title on.  I cut the letters out using my George and Basic Shapes cartridge.  For the tags I used some small tags that I had in my stash, and stamped the circles 3 times with different color inks to match the polkadot border at the bottom.  I have a tornado stamp that I found at an expo so I stamped that over the circles.  Added some fiber for "fun" and I think this is a cute layout that really blends.

Here is a close up of the tags.

Vegas

Black Magic Technique - Round 2

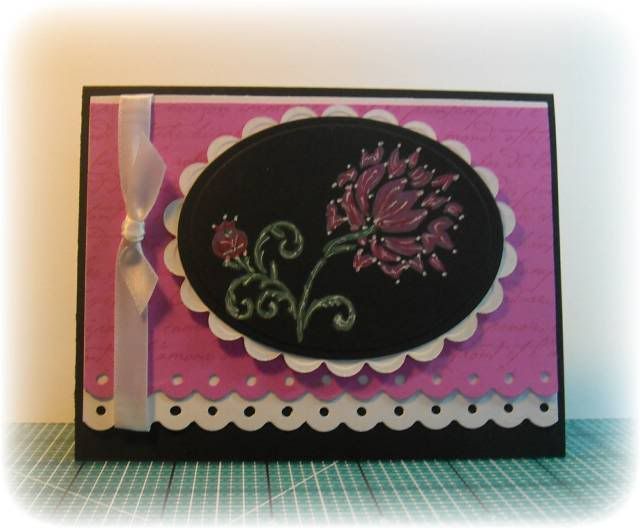
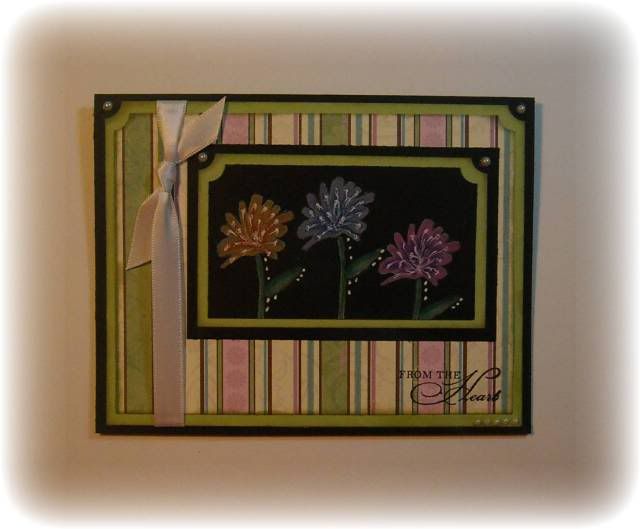
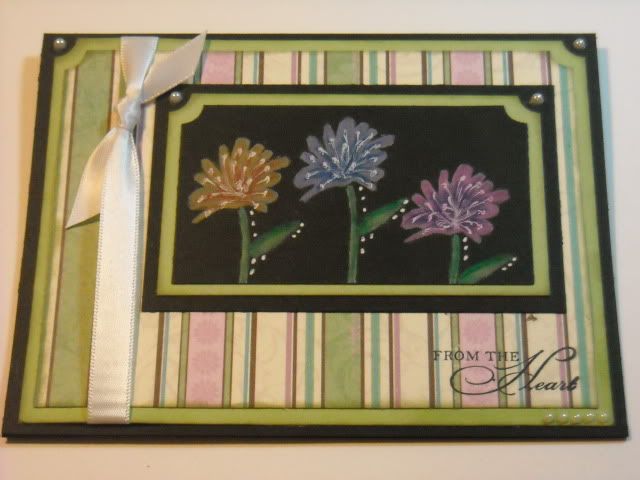
Here is another card using the Black Magic Technique.  You really have to try this!  The image gives you a look as if you actually drew it, but in reality you cheated!  How cool is that?

Black Magic 2

And the close up:

Black Magic 2a

For those wanting to try this technique here is a link to the instructions on Karen's blog.

Saturday, June 19, 2010

Black Magic Technique

I've had fun trying the Black Magic Technique I read about on the SplitcoastStampers web site.  It really is easy and the end result is very striking.

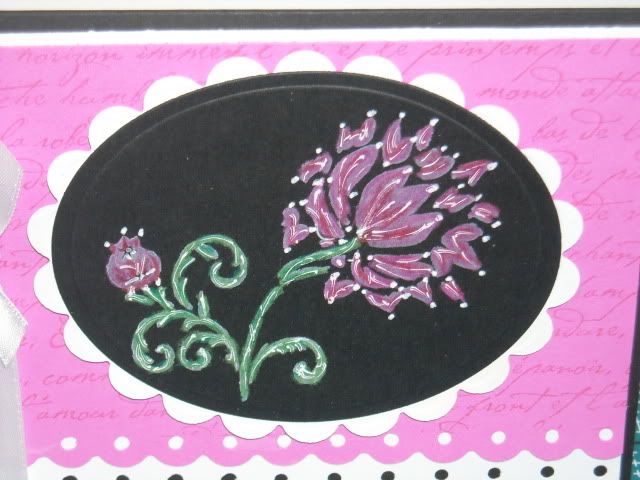
Using Stampin Up's Whisper White Craft Ink I stamped my flowers 3 times on black cardstock.  Heat set the ink with your heat gun.  When totally dry color over the flowers with Watercolor pencils.  After you finish coloring add accents with a white gel pen. 

Take your unique creation and make a card!  Here is my 1st attempt.


Black Magic 1 

And here is a close up showing the detail a little bit better.


Black Magic 1a

Thursday, June 17, 2010

Las Vegas - We have arrived!

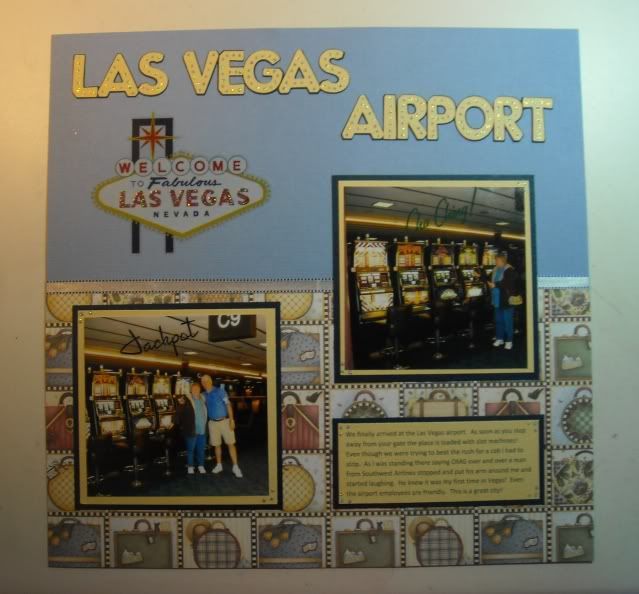
Since this was my first trip to Vegas I was so shocked to see that there were slot machines in the airport!  I was even more shocked when an airport employee came by and put his arm around me and welcomed me to the city.


Las Vegas


I realize this is a pretty plain page. But I wanted the focus to be on the photos not the design of the page.  I used the Keystone cartridge to do the title.  I welded the shadow letters together in Design Studio and cut the tan letters out separately.  I added dots of stickles to give it that Vegas Lights look.  Since this page is next to the first page I used the same patterened paper but changed out the solid cardstock.  Same but different.....

Las Vegas Scrapbook - The beginning

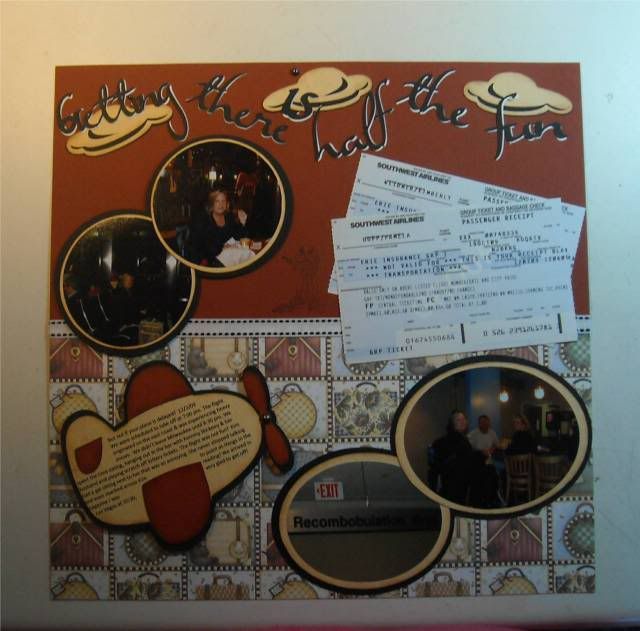
This isn't the most elaborate scrapbook but I tried to do something creative on each page.  This first page I used the Cricut to cut out an airplane from the New Arrival cartridge.  Then I typed my journaling in Word so that it would fit on the plane.  I think this is a cute trick to make your journaling a little more interesting.  The clouds were cut from Mickey and Friends and Jasmine was used for the title.

Las  Vegas

Wednesday, June 16, 2010

I'm back....

You wouldn't believe what I have been up to lately.  I finally finished my Las Vegas Scrapbook!  It took a lot of time and dedication to stick with it, not get distracted, and keep my mojo going.  But I did it....  So watch for my upcoming posts where I'll show off all the pages. Well maybe not all of them, but most.

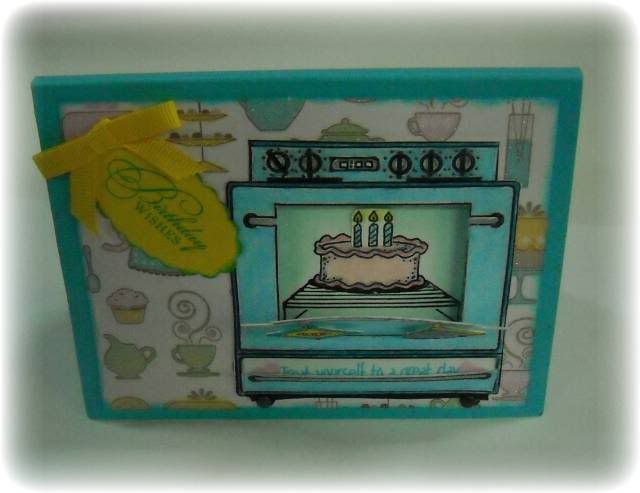
In the mean time I wanted to show you this adorable card I made using a stamp set and template that I purchased at a recent expo.  It's made by Art Gone Wild.  They have some really cool stuff.

We needed a birthday card for one of the bosses at work and I was asked to make a card.  This is what I came up with.  Hope you enjoy it!

Photobucket


Now here is the cute part....  The oven door and the broiler door open!

Photobucket

You can click on the pictures to see a larger view.  Isn't that cool?