Saturday, October 25, 2008

Boss Kut Peeker


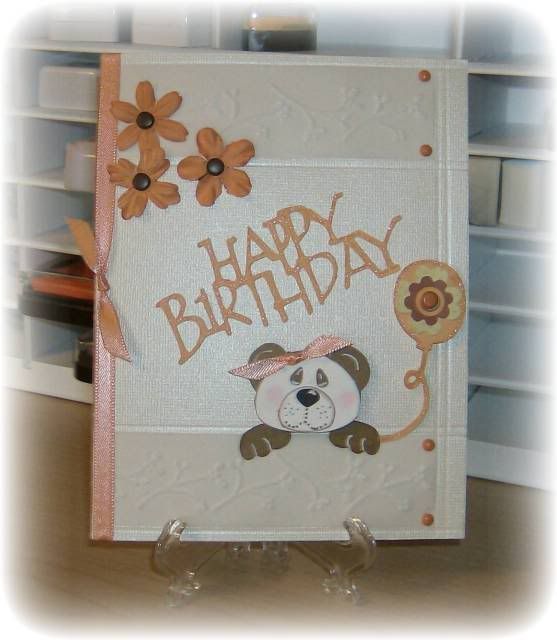
I recently received my Boss Kut Peeker Die from Cropstop.com. I thought this litte bear was so cute so I used him/her on this simple birthday card. I added the ribbon in the bear's hair to make this one more for a girl.


I used Bazzill Bling cardstock for the base and scored around the edges. The embossing is done on a transparency strip using a Cuddlebug border embossing folder.
The bear was done using the cuddlebug. The sandwich is: A plate, die, cardstock, 2 B plates. I cut it out first in white, then again in brown, and a 3rd time in black. After I pieced it together I drew the face lines in black. I used a white gel pen to highlight the eyes, ears, and toes. I added a hint of pink chalk ink on the cheeks and a matching ribbon in her "hair". Isn't this the cutest bear? I can't wait to try other color combinations.


Happy Birthday was cut using the Tear Drop Cartridge. I went over the letters with a glitter gel pen. The balloon was cut from Beyond Birthdays at 3" and a chipboard flower was added.
Thursday, October 23, 2008

Color Inspiration #27

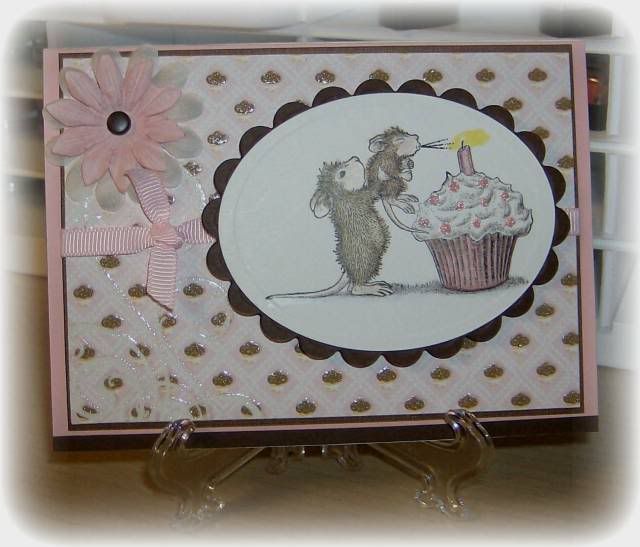
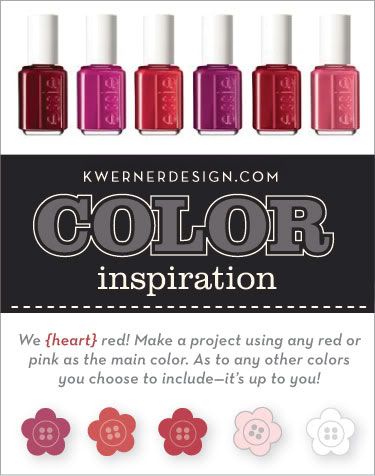
This weeks color inspiration challenge over at kristina's blog gave free reign to use any shade of red or pink. This played right along with the birthday card I was making for my DGD's 1st birthday. Since I love using pink and brown together I think this card was perfect for the challenge.


I used my favorite House-Mouse stamp for this card. The single candle in the image makes it perfect for a 1st birthday card. The DP is from DCWV's Sweet Stack. I used nestabilities to cut the plain and scalloped ovals. The mice were stamped with Stampin' Up's basic black onto Whisper White cardstock. Then they were colored using the MCPT. I added a simple 2 layer flower with a brown brad along with pretty pink ribbon. Pink stickles were used for the sprinkles on the icing.

It was a simple and quick card to make.


Saturday, October 18, 2008

Autumn Card


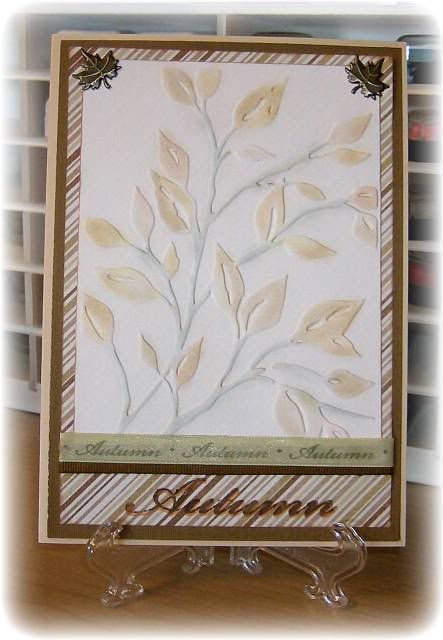
I was inspired by a card that I saw on the Cuddlebug Challenge blog. I don't know who created it, but I give her/him my thanks and hope that person doesn't mind the I lifted the idea! Hers is much prettier, but I'm pleased with my results. I used the leafy branch cuddlebug embossing folder on white cardstock. Using chalks I went over the top of the embossed areas. I need to get another set of chalks that has more fall colors in it, but these came out very soft and pretty.
The striped paper is from DCWV's Fall Matstack and the solid cardstock is DCWV's Fall Cardstock. The ribbon and the Autumn stamp are $1 finds from Target. shhhhh....don't tell her but this card is in my SS's package which is on it's way to her right now!

Halloween Treat Bag


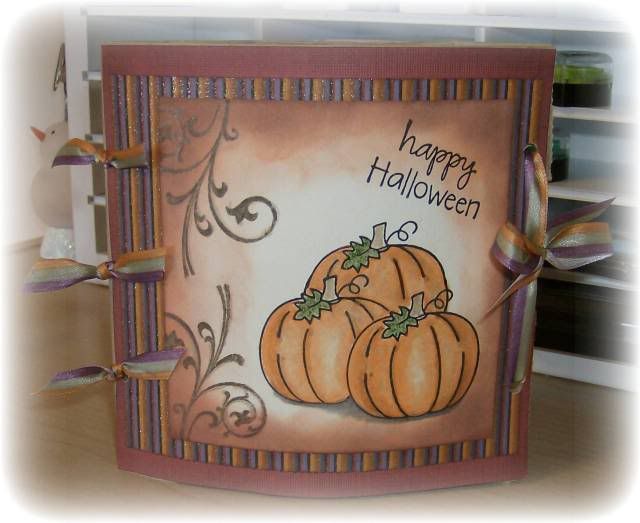
This is a treat bag made the same way as the lunch bag cards except I did not make a pull-out. Instead I punched 2 holes in the open end and after filling the bag with treats I tied a ribbon through the holes to keep it closed.
I inked the edges of a cream colored cardstock first with an orange dye ink then went over that with chocolate brown. I like how it highlights the pumpkins. The swirls were stamped in brown die ink.

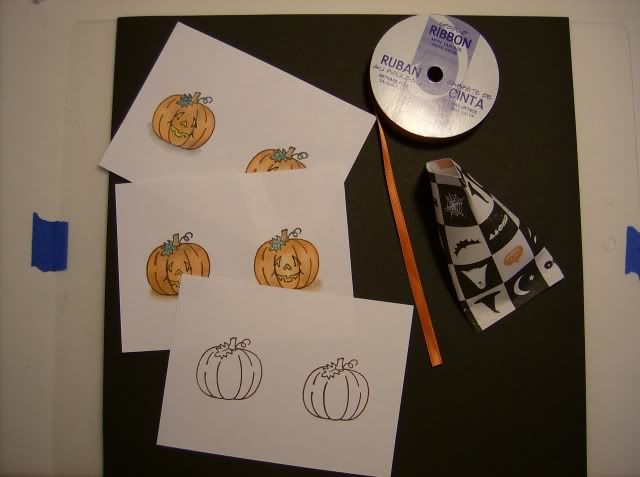
The pumpkins were stamped using the masking technique. I colored them with prismascolor pencils and used the MCPT to blend the colors. The purple stripped paper is from DCWV's Fall Glitter matstack and the solid cardstock is DCWV's Fall stack. The ribbon is from the $1 bins at Target. Doesn't it match perfectly?

Thursday, October 16, 2008

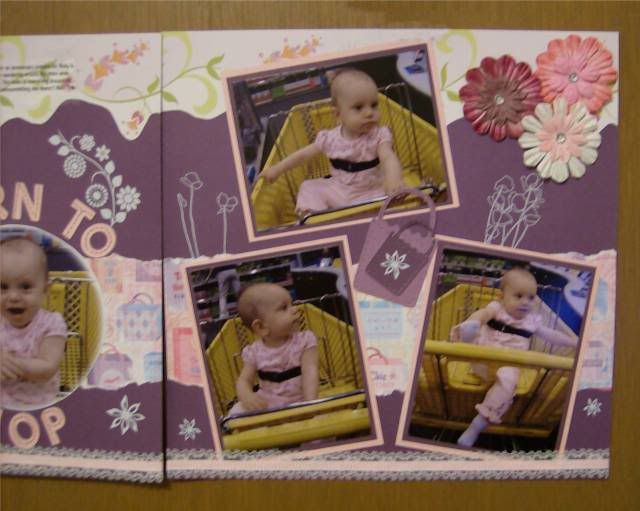
Born To Shop!


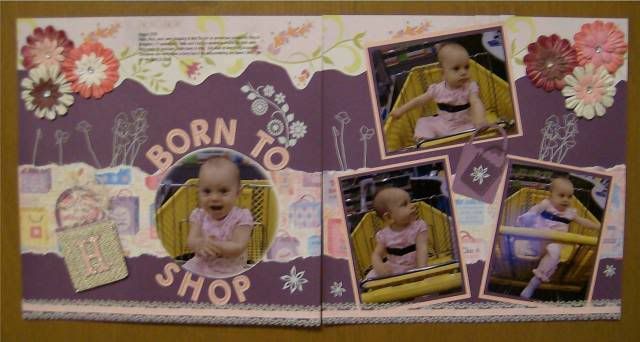
I went shopping with my son and 10 month old DGD. While my son shopped I wandered around the store with the baby. She loves to shop! She claps when she sees something she likes and makes a funny face when she doesn’t like something! This layout uses the Keystone, Doodlecharms, & Storybook Cricut cartridges.


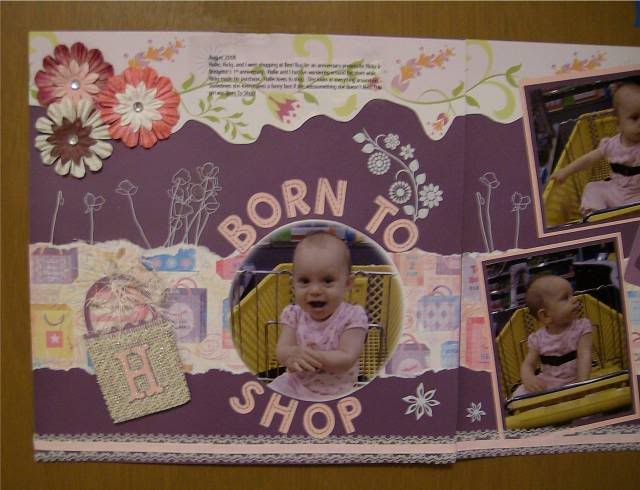
“Born to shop” was cut with Keystone at 1”. I pierced holes and connected the holes with a silver glitter pen to create faux stitching.

The shopping bags are from Doodlecharms. The large bag was cut at 4”. I glued a piece of burlap over the front of the large bag and added the “H” (cut from Storybook at 1 ½” and glittered.) Fibers were tied to the bag handle for a little more texture. Tip: to keep the fibers from coming unknotted put a small drop of clear glue on the knot.

The large flowers are Bazzill Shimmers and the smaller flowers in the centers are paper flowers from Eyelets Etc. The white flowers are miniMARKS rubons. The shopping paper is by Karen Foster Design and Me & My Big Ideas makes the glossy floral cardstock. I cut off the floral border and saved the rest of the cardstock for another project.

Saturday, October 11, 2008

October MCPT Challenge

This is my entry in the October MCPT (magic colored pencil technique) challenge on the Cricut message board. I love this image! The background paper is from Debbie Mumm "Harvest & Holiday" mat stack. The purple paper is from DCWV's Fall Matstack. Ribbon is SU. Orange Stickles in the corners and Glitter Gel Pens to color in the words.

Color Inspiration Challenge #25


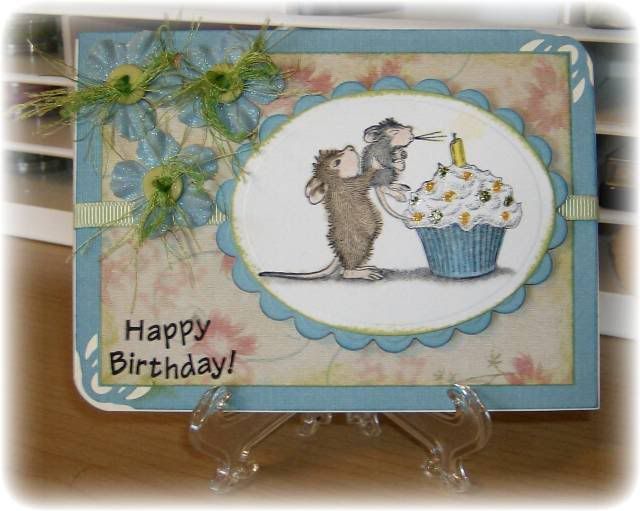
I love the color challenges at KWernerDesignBlog. For this week's challenge I choose to do a birthday card for a lady that host's the crops I attend once a month.

I choose a cute House Mouse image and stamped it with SU basic black ink. The ovals are cut using nestabilities. The ribbon is SU, flowers are Prima Fabric Fancies. I added buttons to the center of the flowers with $ store fiber. The Happy Birthday stamp is from a Studio G $1 set. Cardstock is DCWV from the Summer cardstock stack. Designer Paper is My Mind's Eye.

I colored the mice with prismacolor pencils using the MCPT. Yellow and Lime Green stickles were used for the bling on the cupcake. Hope you enjoy this one!

Saturday, October 4, 2008

What's in your bag?

The designers over at Limelight Paper Crafts is have terrific WCMD challenges and games. To keep track of my entries at Mandy's blog I'm posting all the pictures for her "What's in your bag" game.

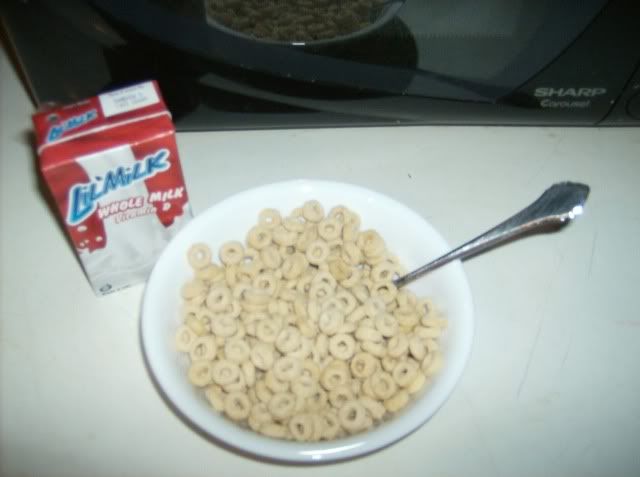
What's in your bag #1 (what did you have for breakfast?)


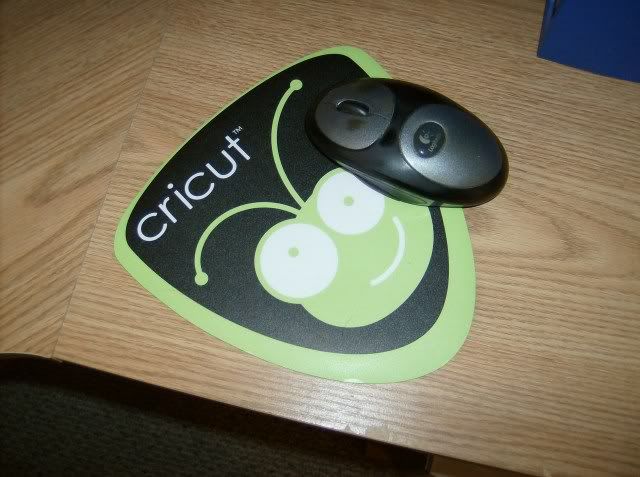
What's in your bag #2 (Show a picture of your mouse pad)


What's in your bag #3 (Show an unfinished project/card)

Inspired by Amy Hadley


I was inspired by Amy Hadley's tutorial at the Scrap in Art website. She posted this tutorial for World Card Making Day. Here is my interpretation using only supplies from my stash.


Friday, October 3, 2008

Dahlia Folding Instructions

I had trouble understanding the dahlia folding instructions until I finally found directions that had clear pictures that documented each fold. This technique is very easy to do and I was amazed when I finally figured it out how simple it was to create these fantastic embellishments.

I decided to create a tutorial that I hope simplifies the folds so that anyone can try this technique. I saved it in a .pdf file (you will need Adobe Reader to view it) Click
HERE to open the file. You are welcome to save a copy to your computer or print it off for your own personal use.

If you try my instructions and they work for you please leave me a comment.

Happy creating!

Thursday, October 2, 2008

Dahlia with pearls


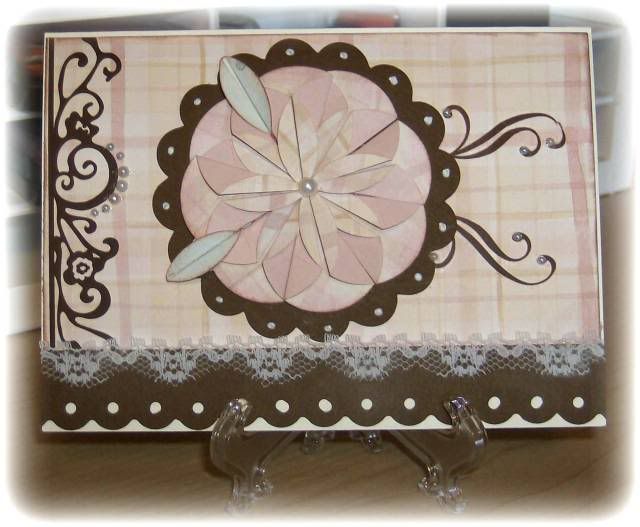
I wanted to try my hand at the Dahlia fold that I have seen over at splitcoaststampers.com Here is what I came up with. I added pearls to dress it up. The flourishes are rub ons that I had in my stash. Used the threading waters punch for the bottom. The DP is Soft Watercolors by Beary Patch.